1st find a working laptop and install all software that
you are going to use to make a slideshow work on your laptop. Here we
used linux. After everything is working properly, then start taking
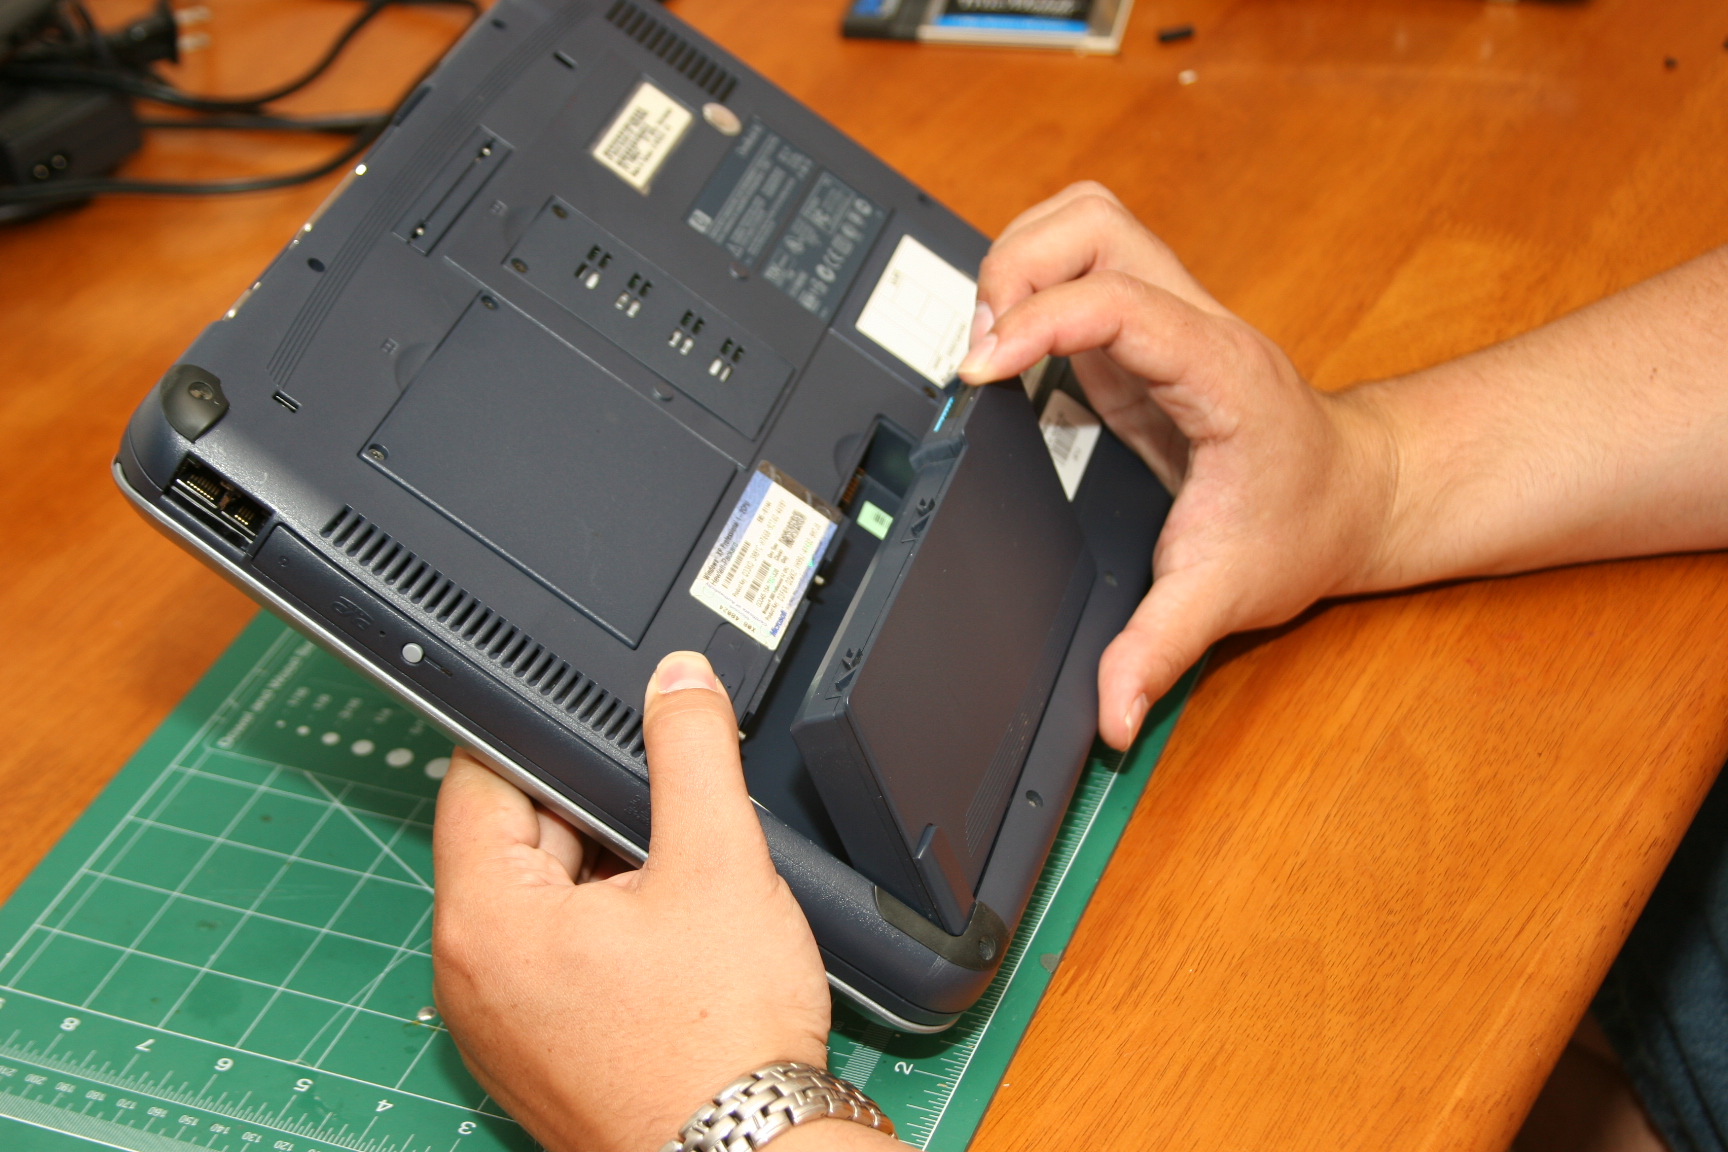
things apart. We began by removing the battery.
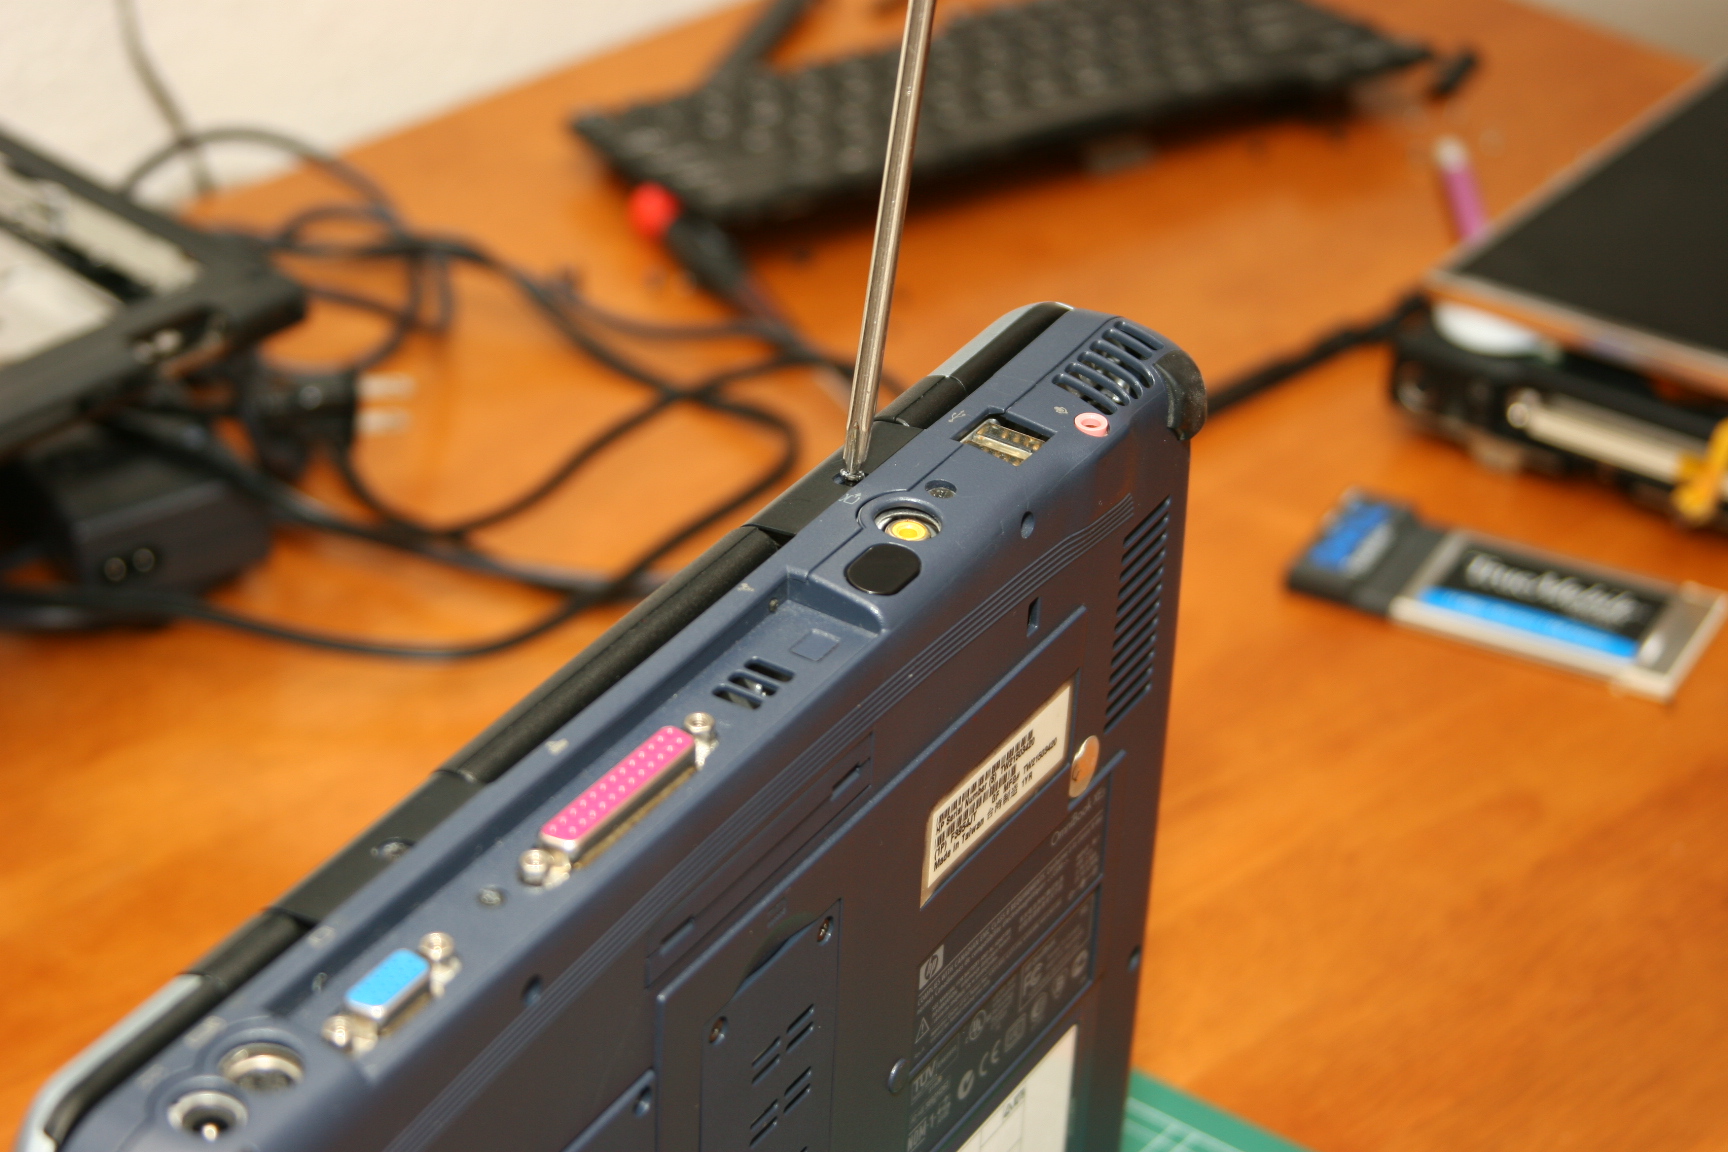
Each laptop is different, but usually there are two screws
in the back that look like they hold the screen on, but really hold the
front bezel.
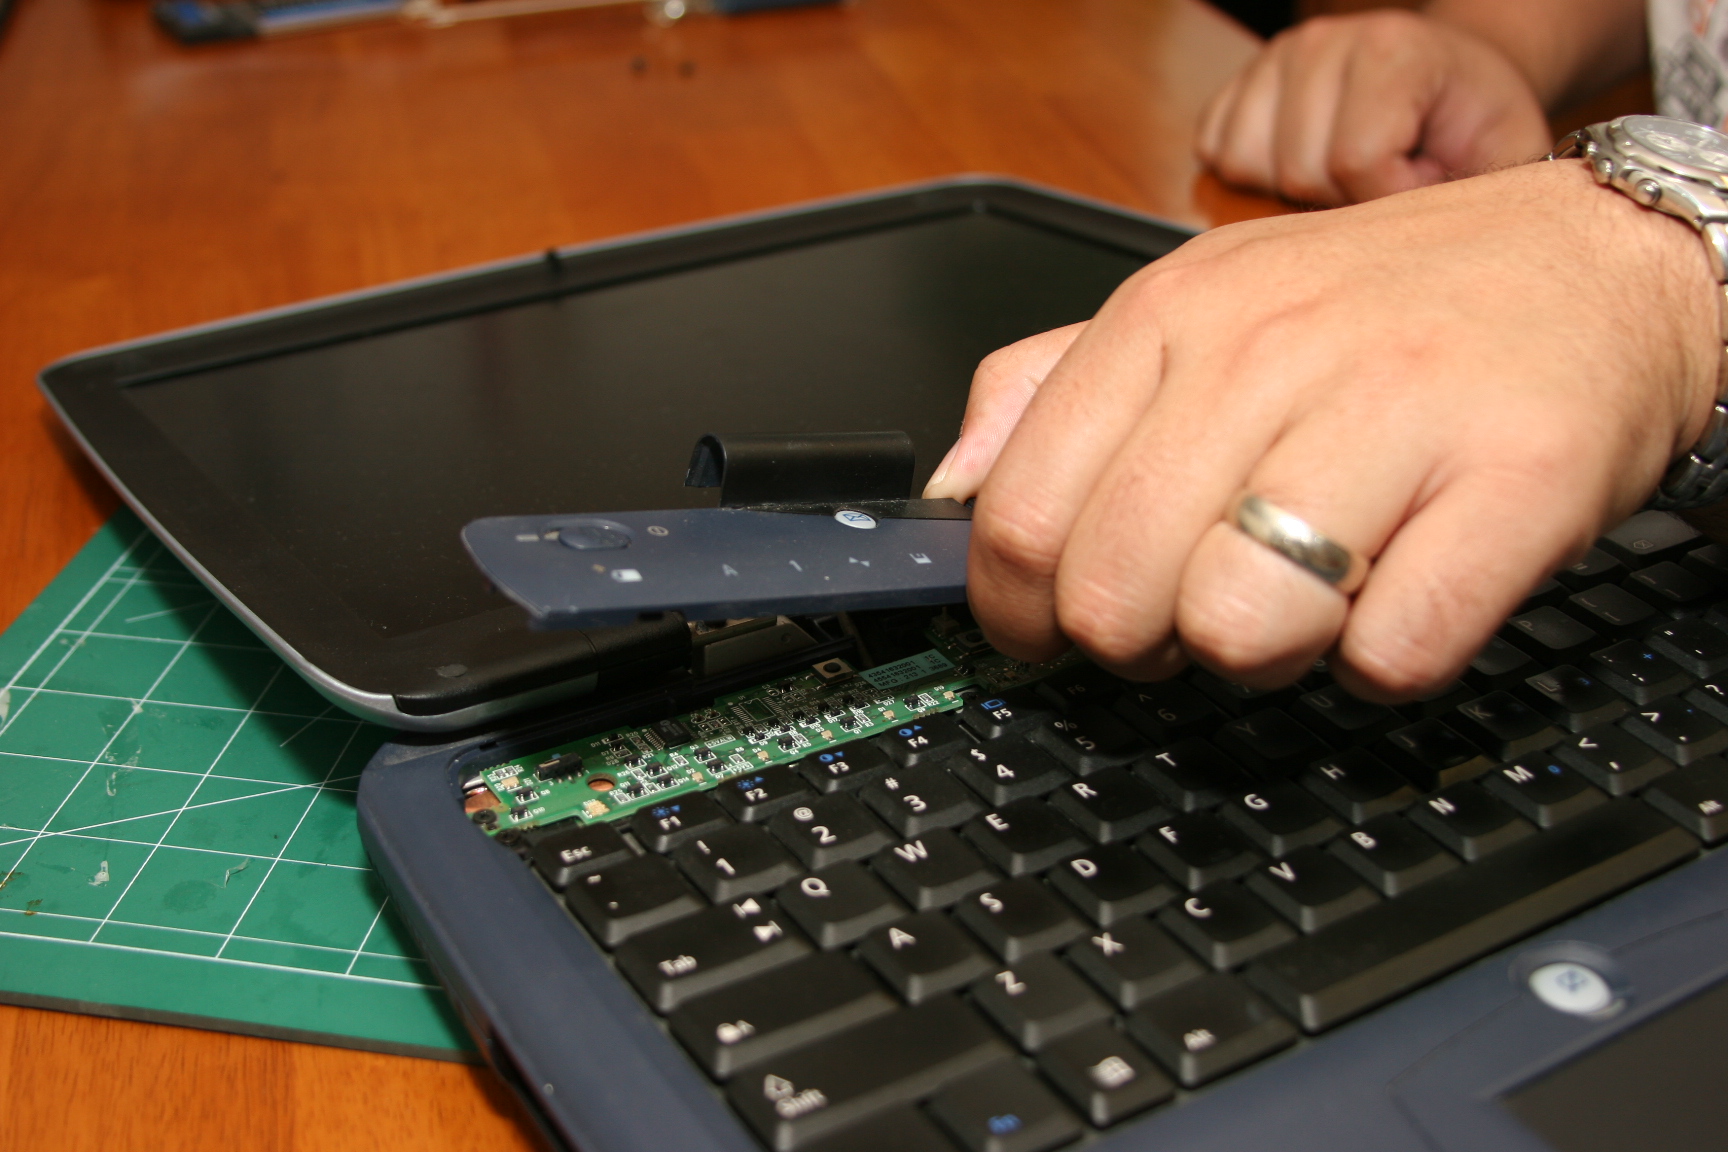
Now carefully pull or pry the front bezel off. This exposes
the screws that are needed to remove the keyboard and get to the video
card underneath.
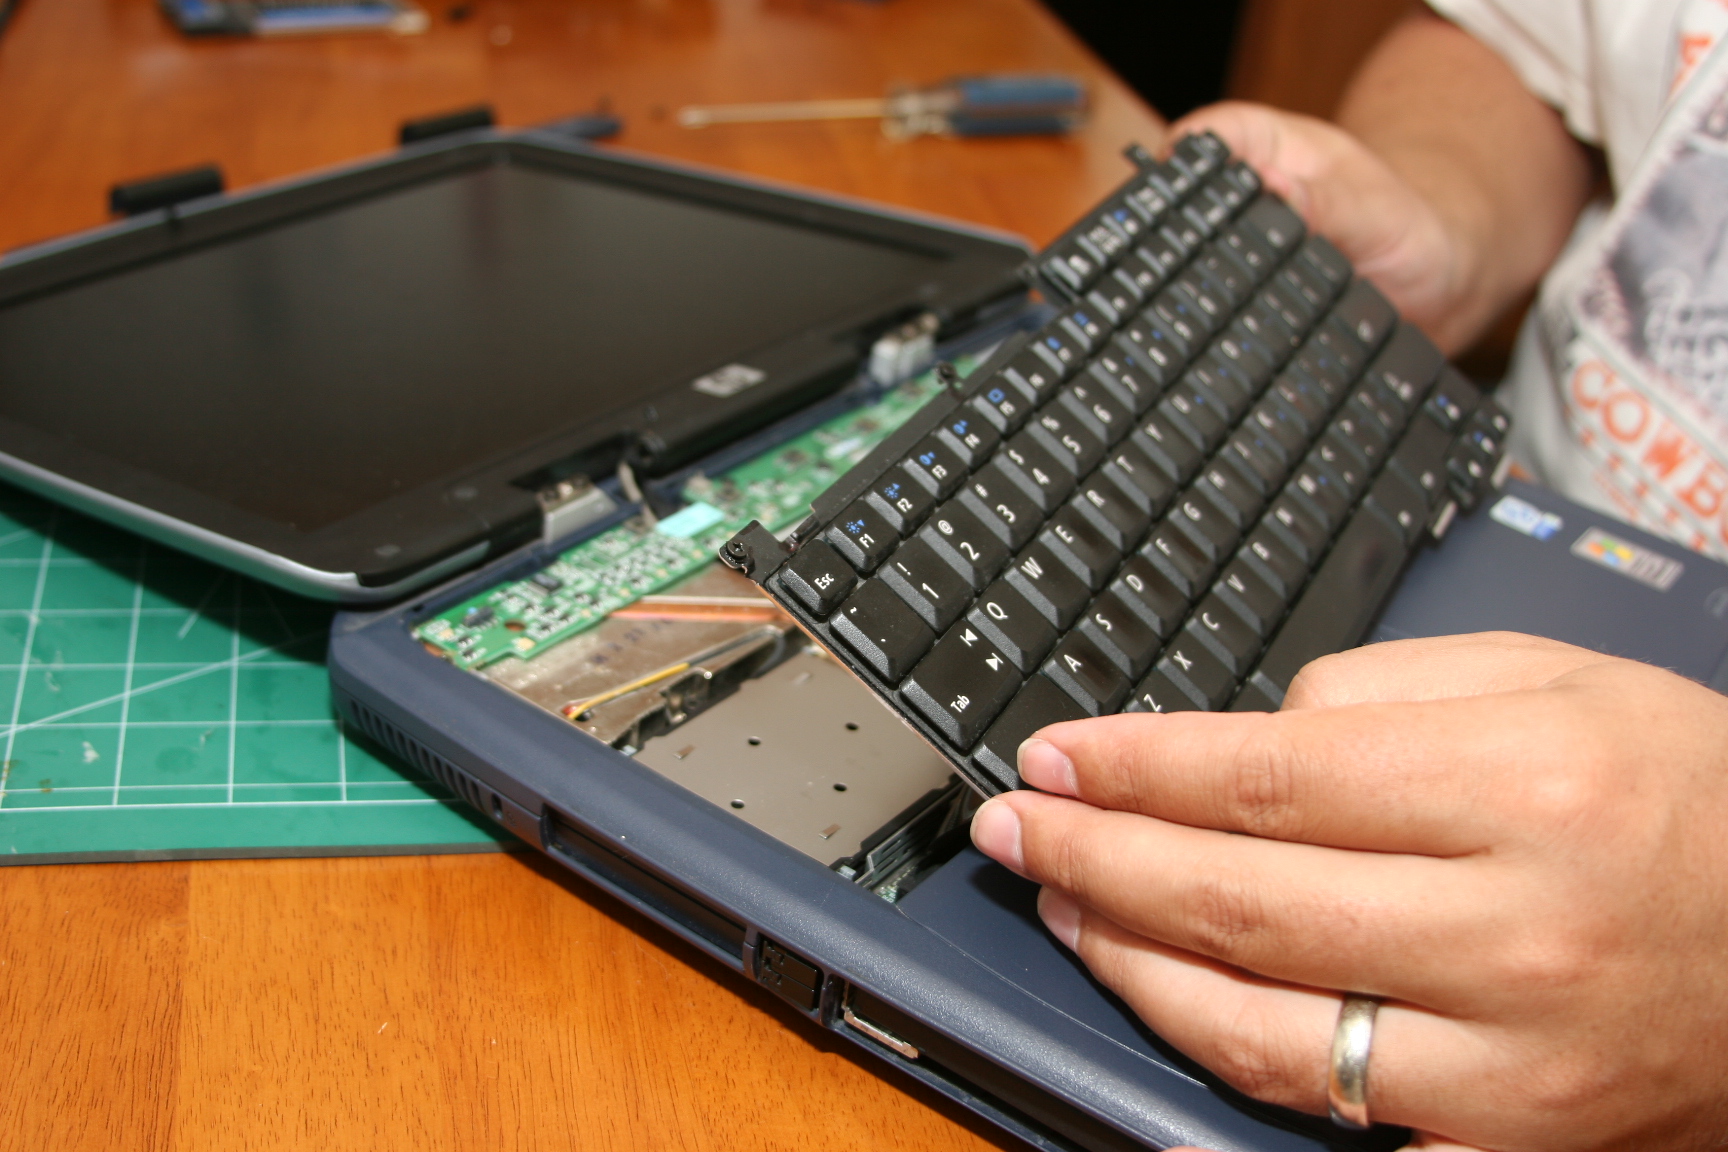
Remove the keyboard by unscrewing three little screws
above the keys. It is plugged into the motherboard with a small thin ribbon
cable.
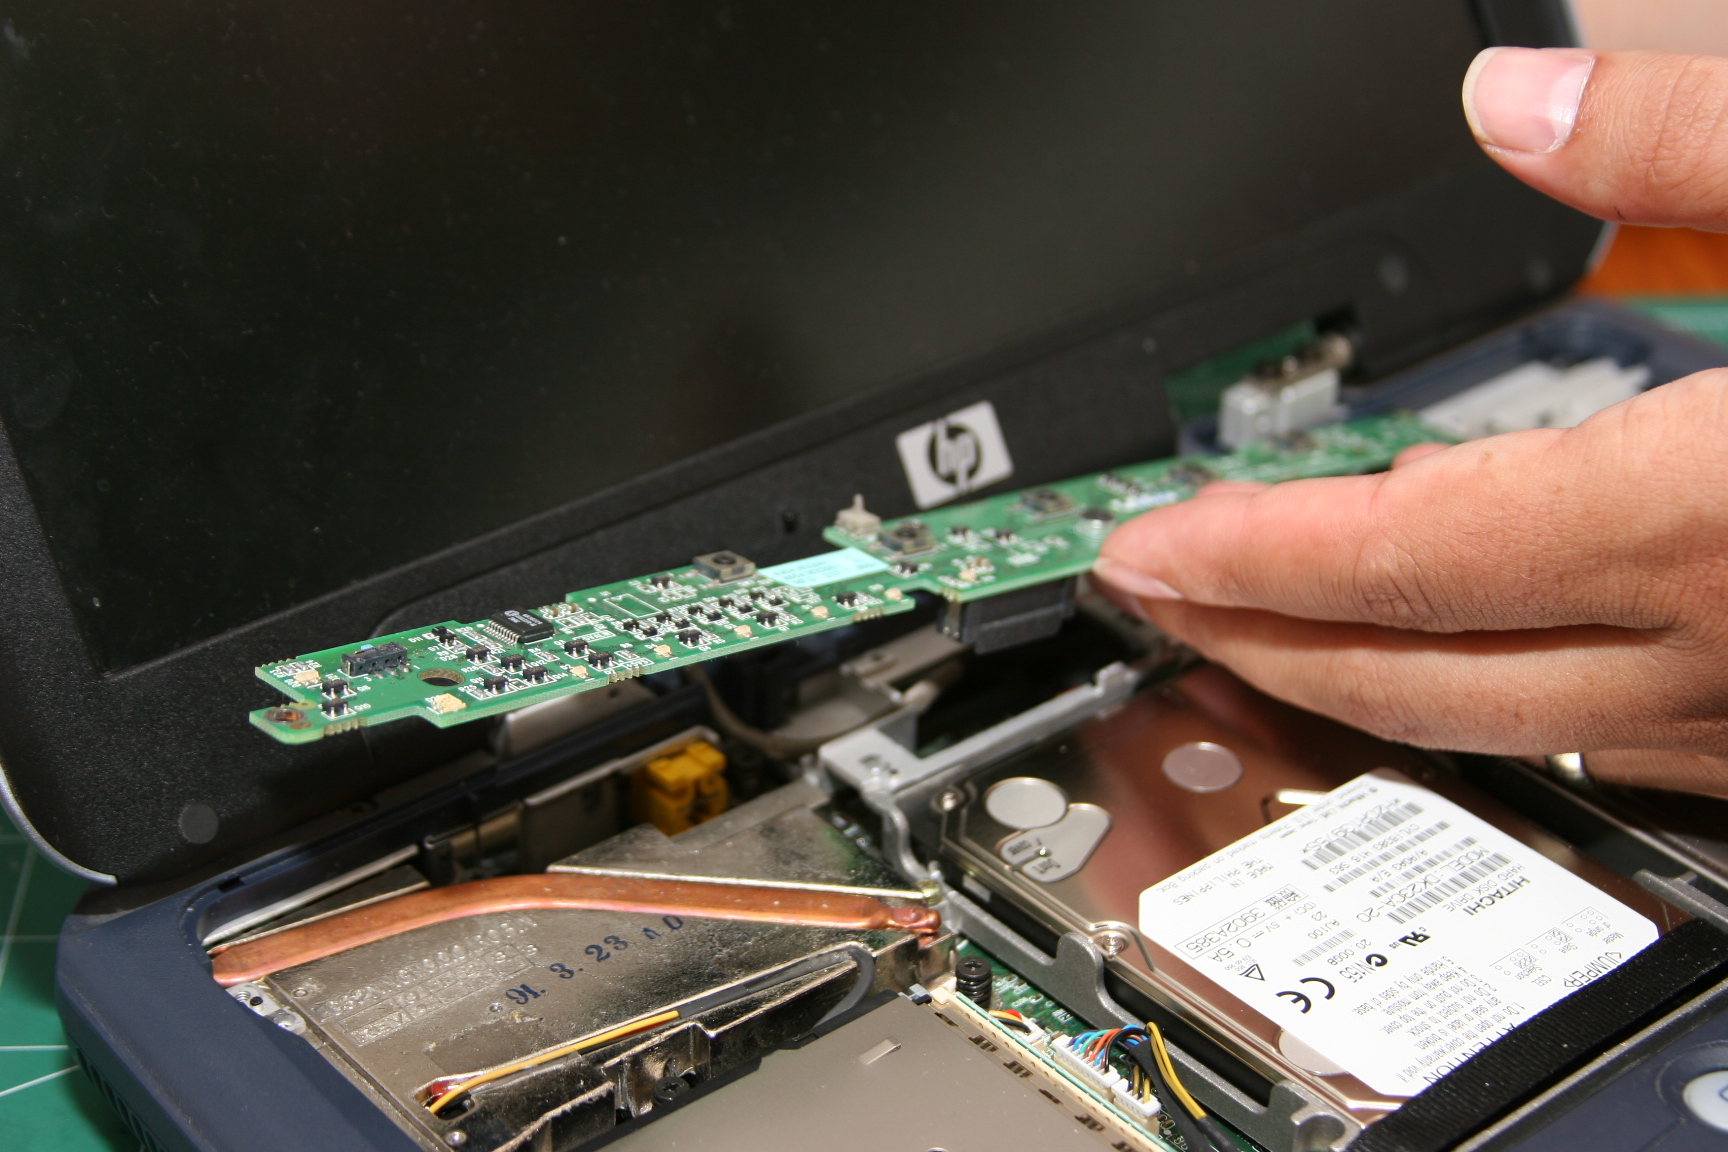
To get to the where the monitor plugged into the video
card we had to remove this thingy. We couldn't throw it away as it had
the on/off switch.
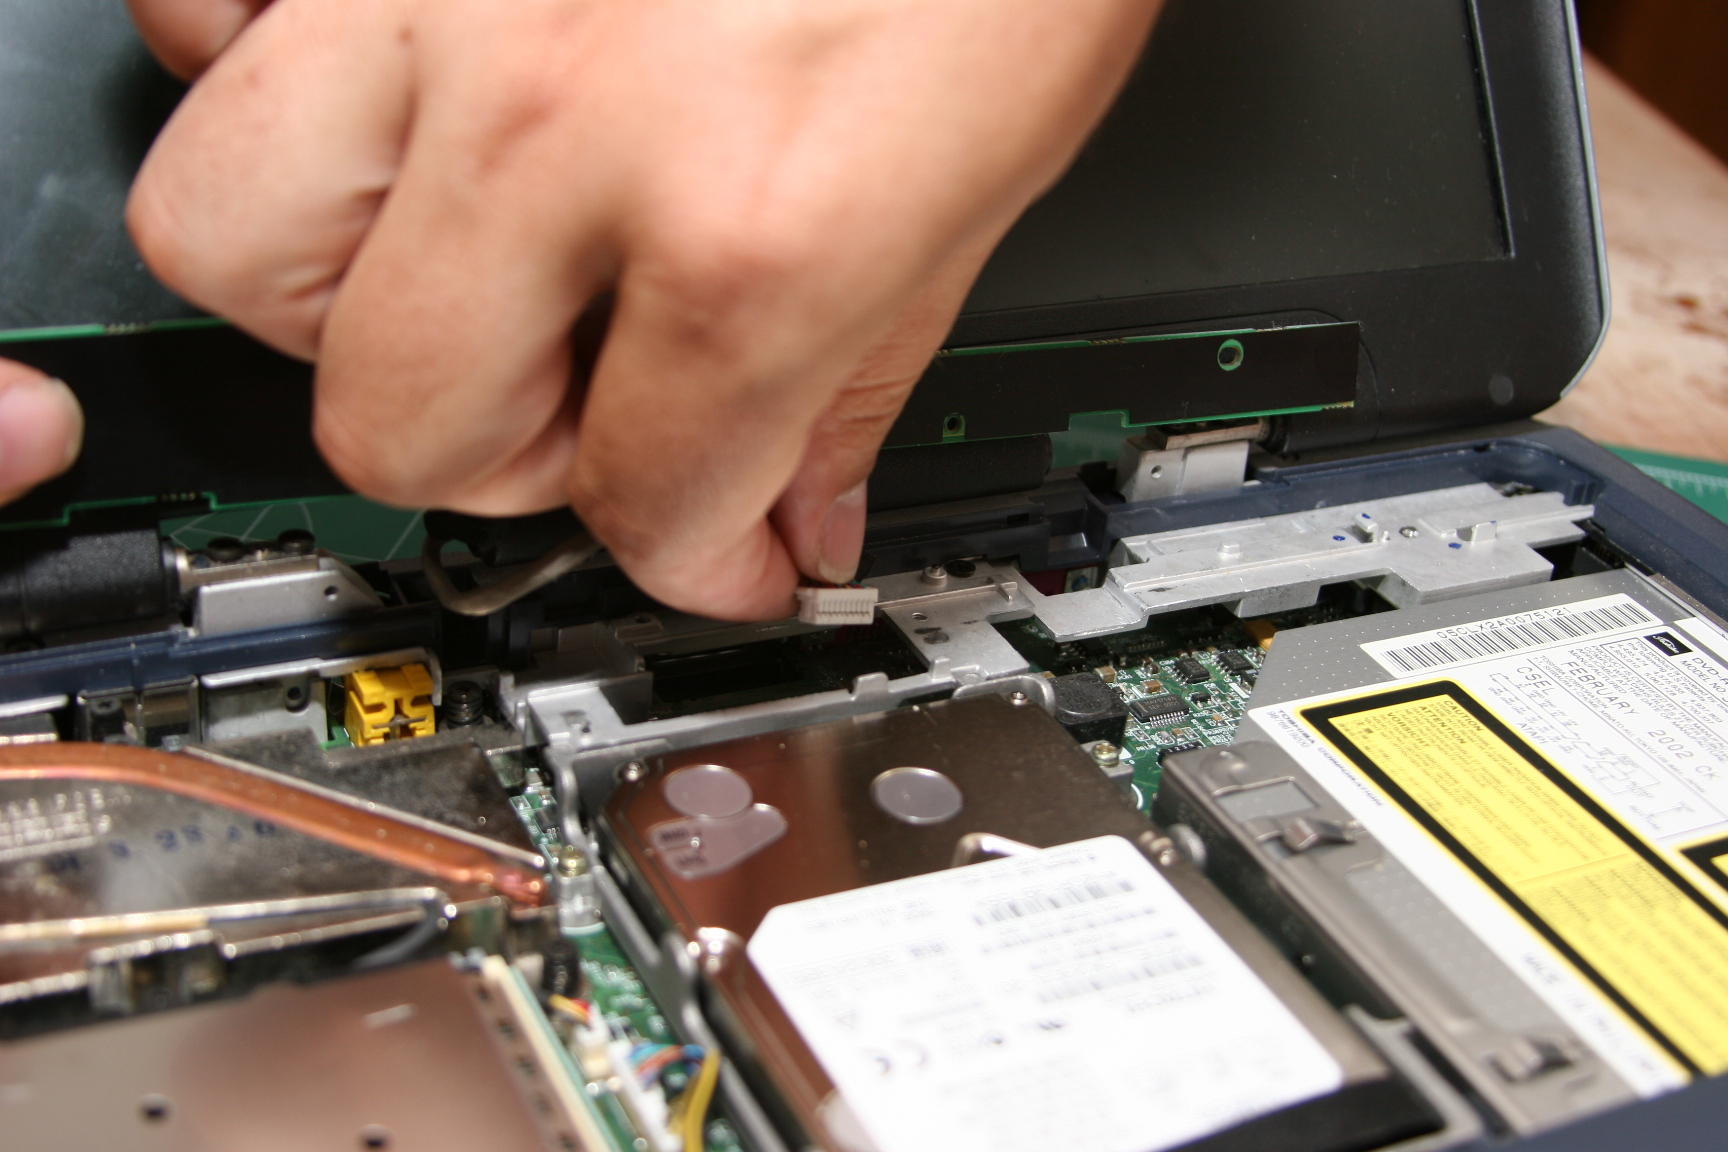
Gently remove the ribbon cable connecting the monitor
to the motherboard.
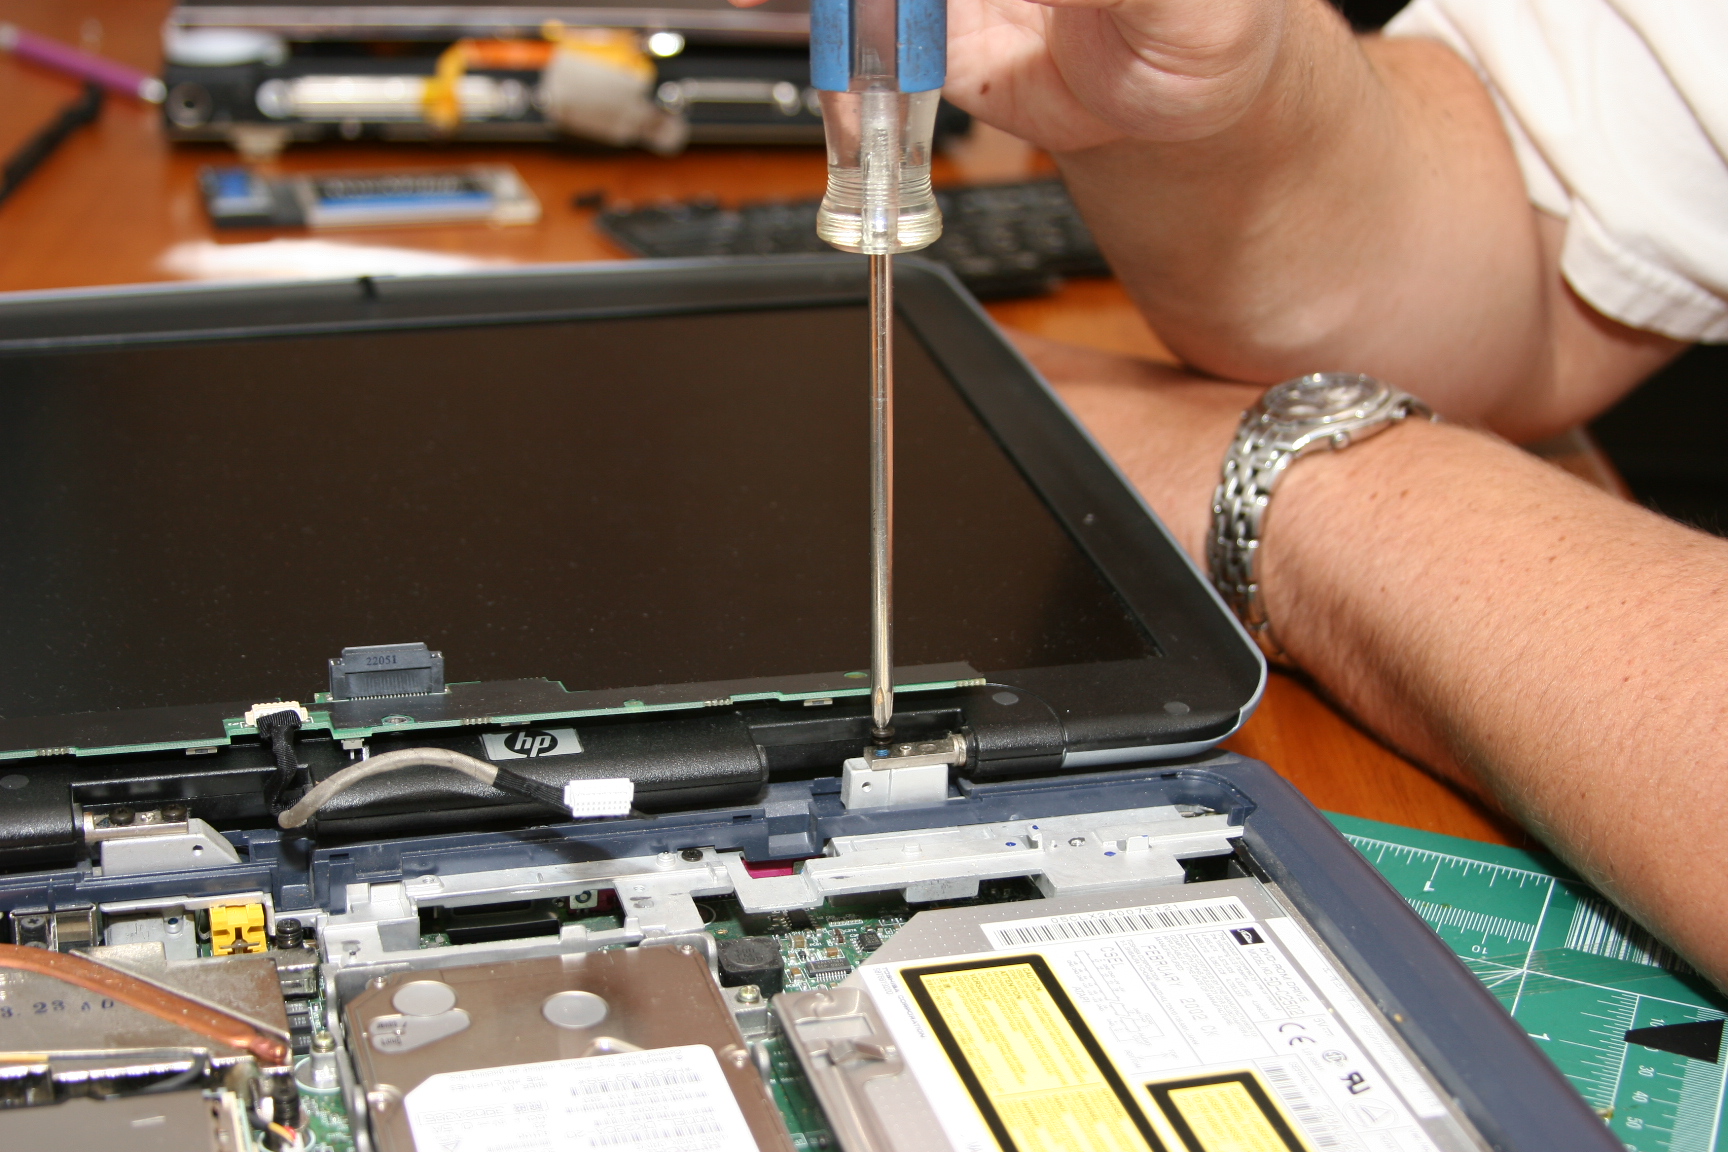
Now we can remove the Monitor from the rest of the laptop.
4 screws are needed to remove it.
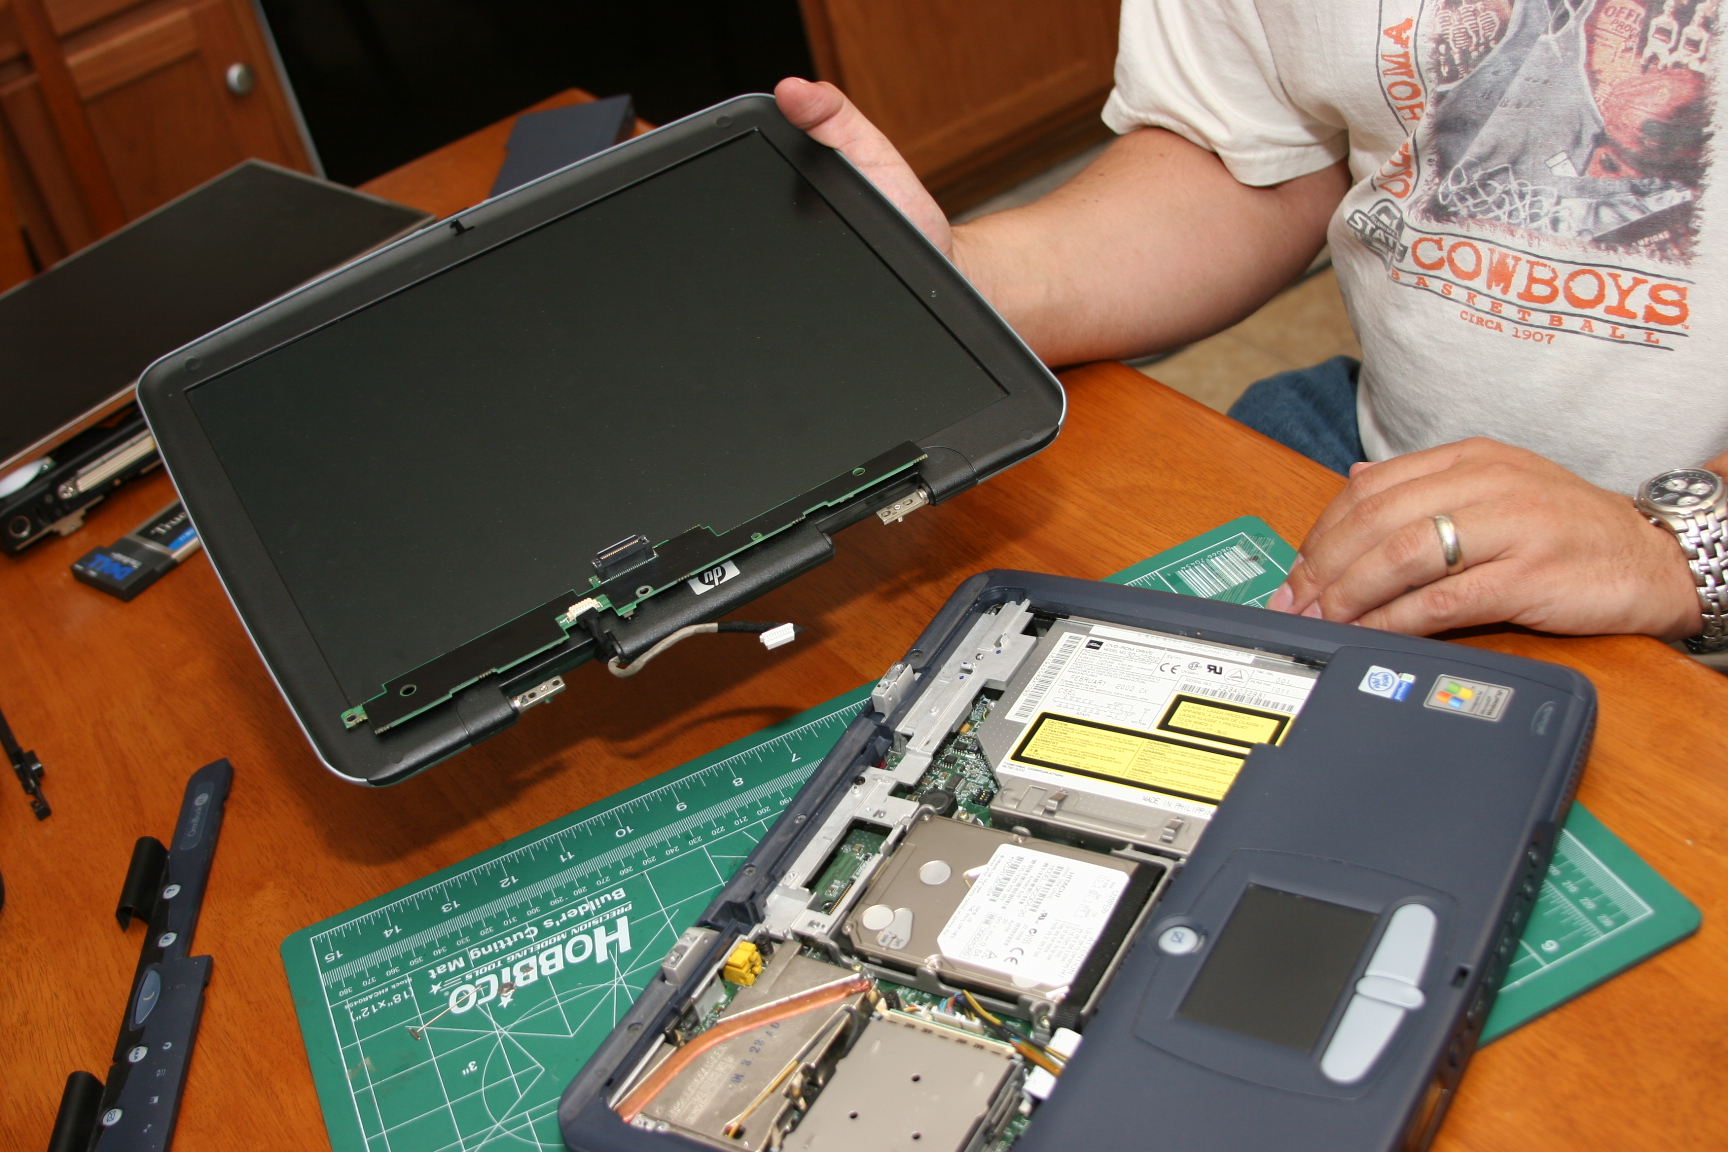
With the monitor removed, we can now disassemble the framing
so all that we have is the LCD screen.
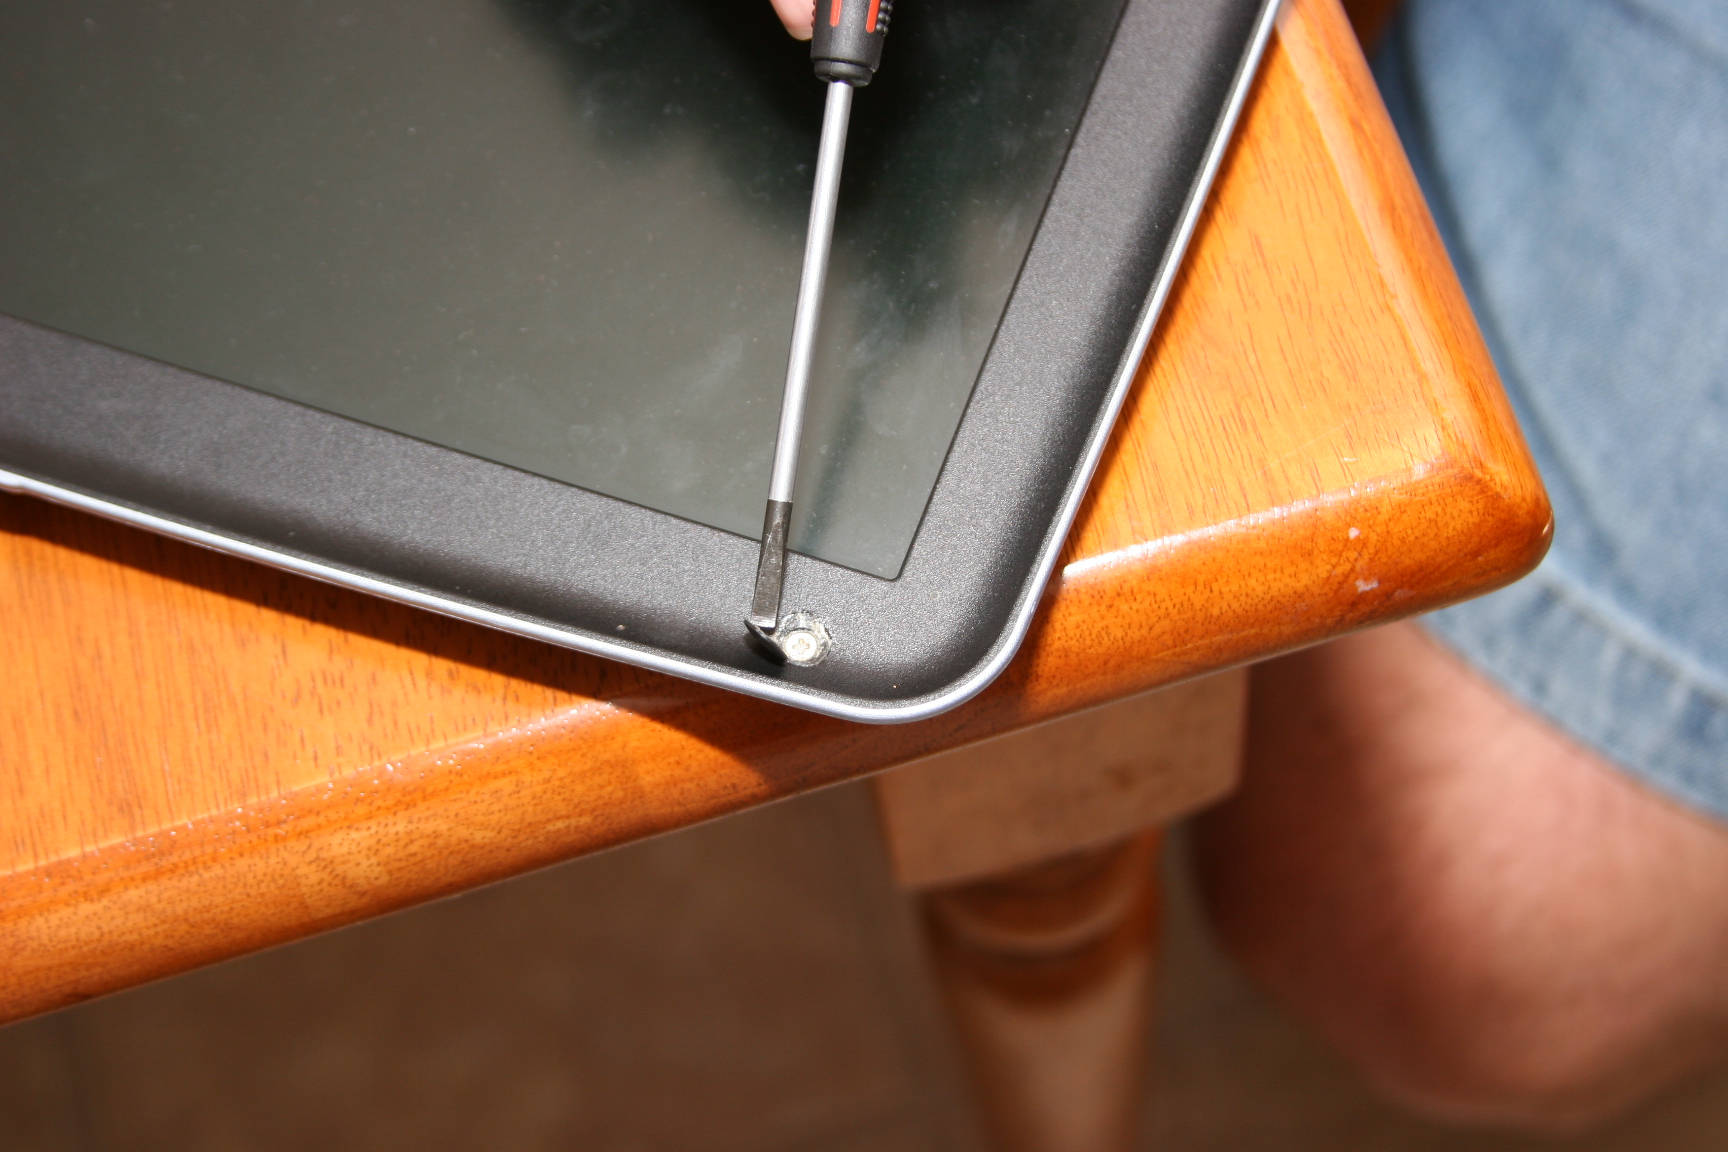
The screws are usually hidden under these little rubber
disks. Use a flat blade screwdriver to pry them loose.