
|
 |
|
|
.: How to make a Laptop Picture Frame |
||||
 |
|
||||
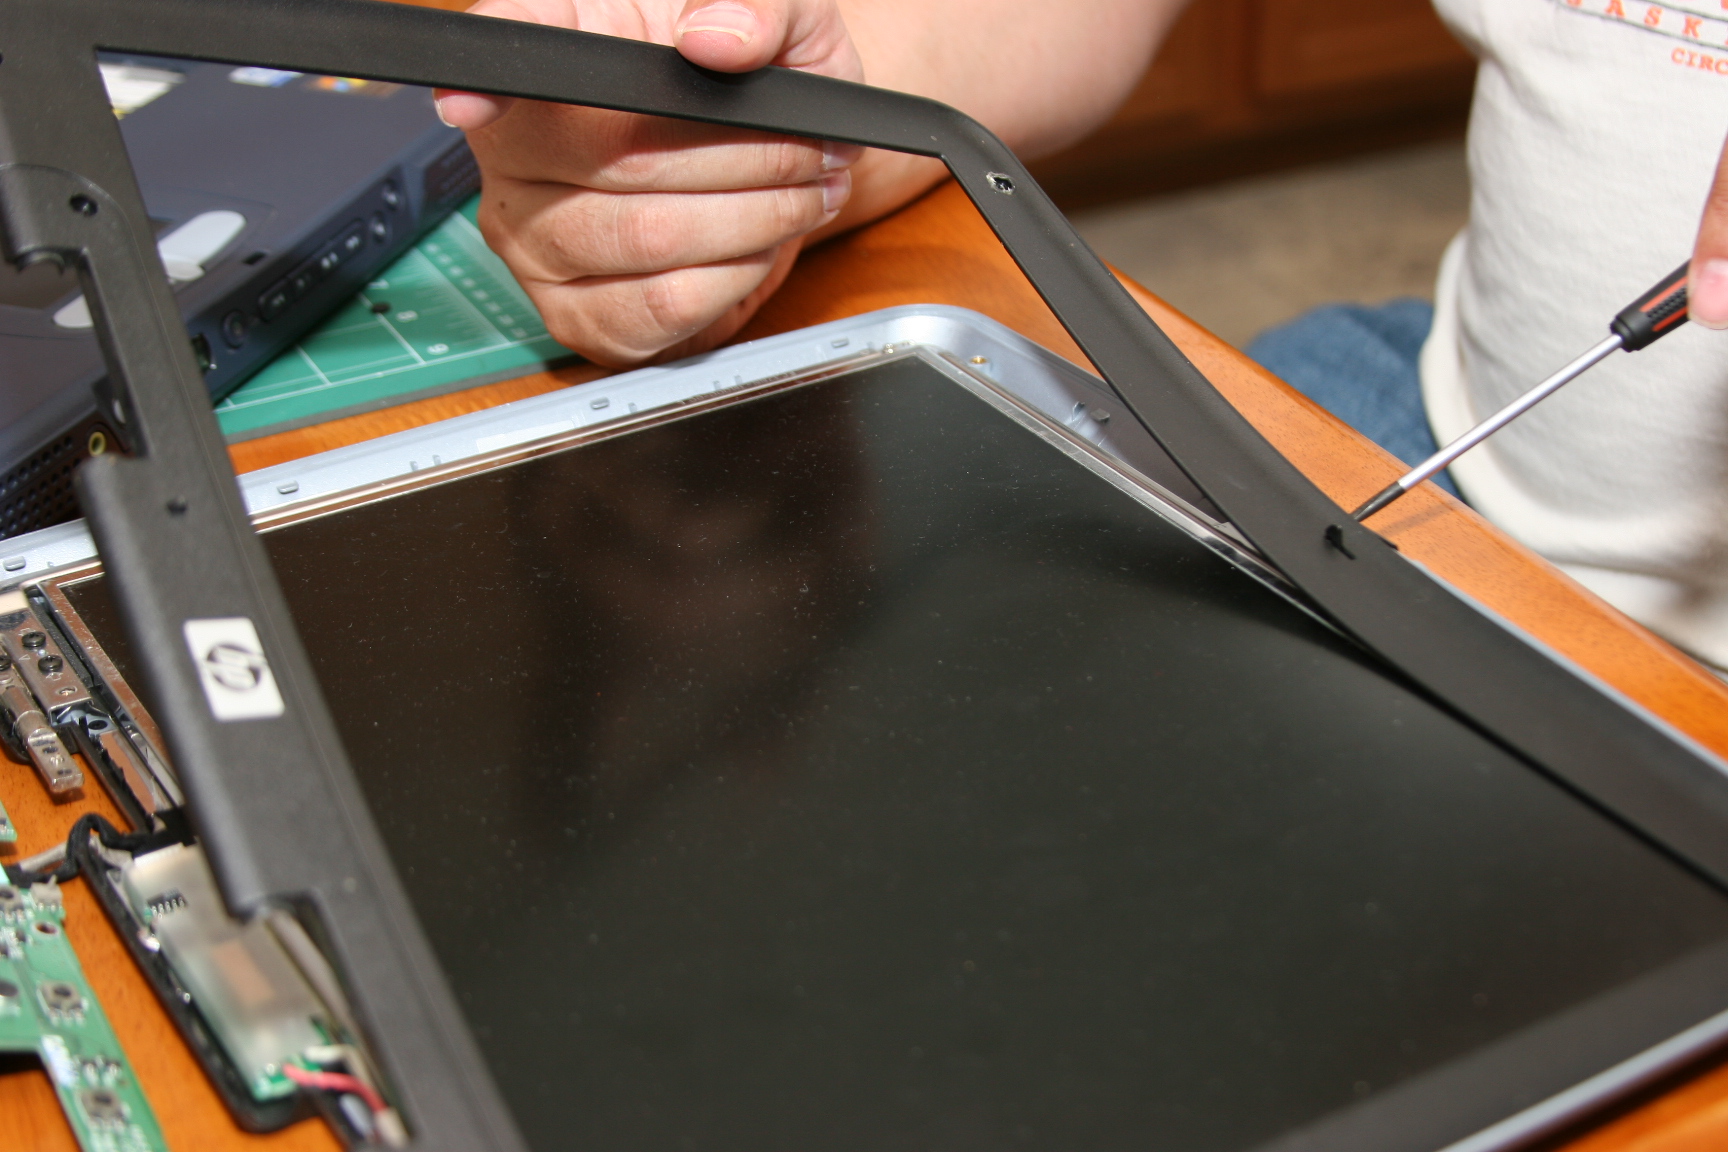
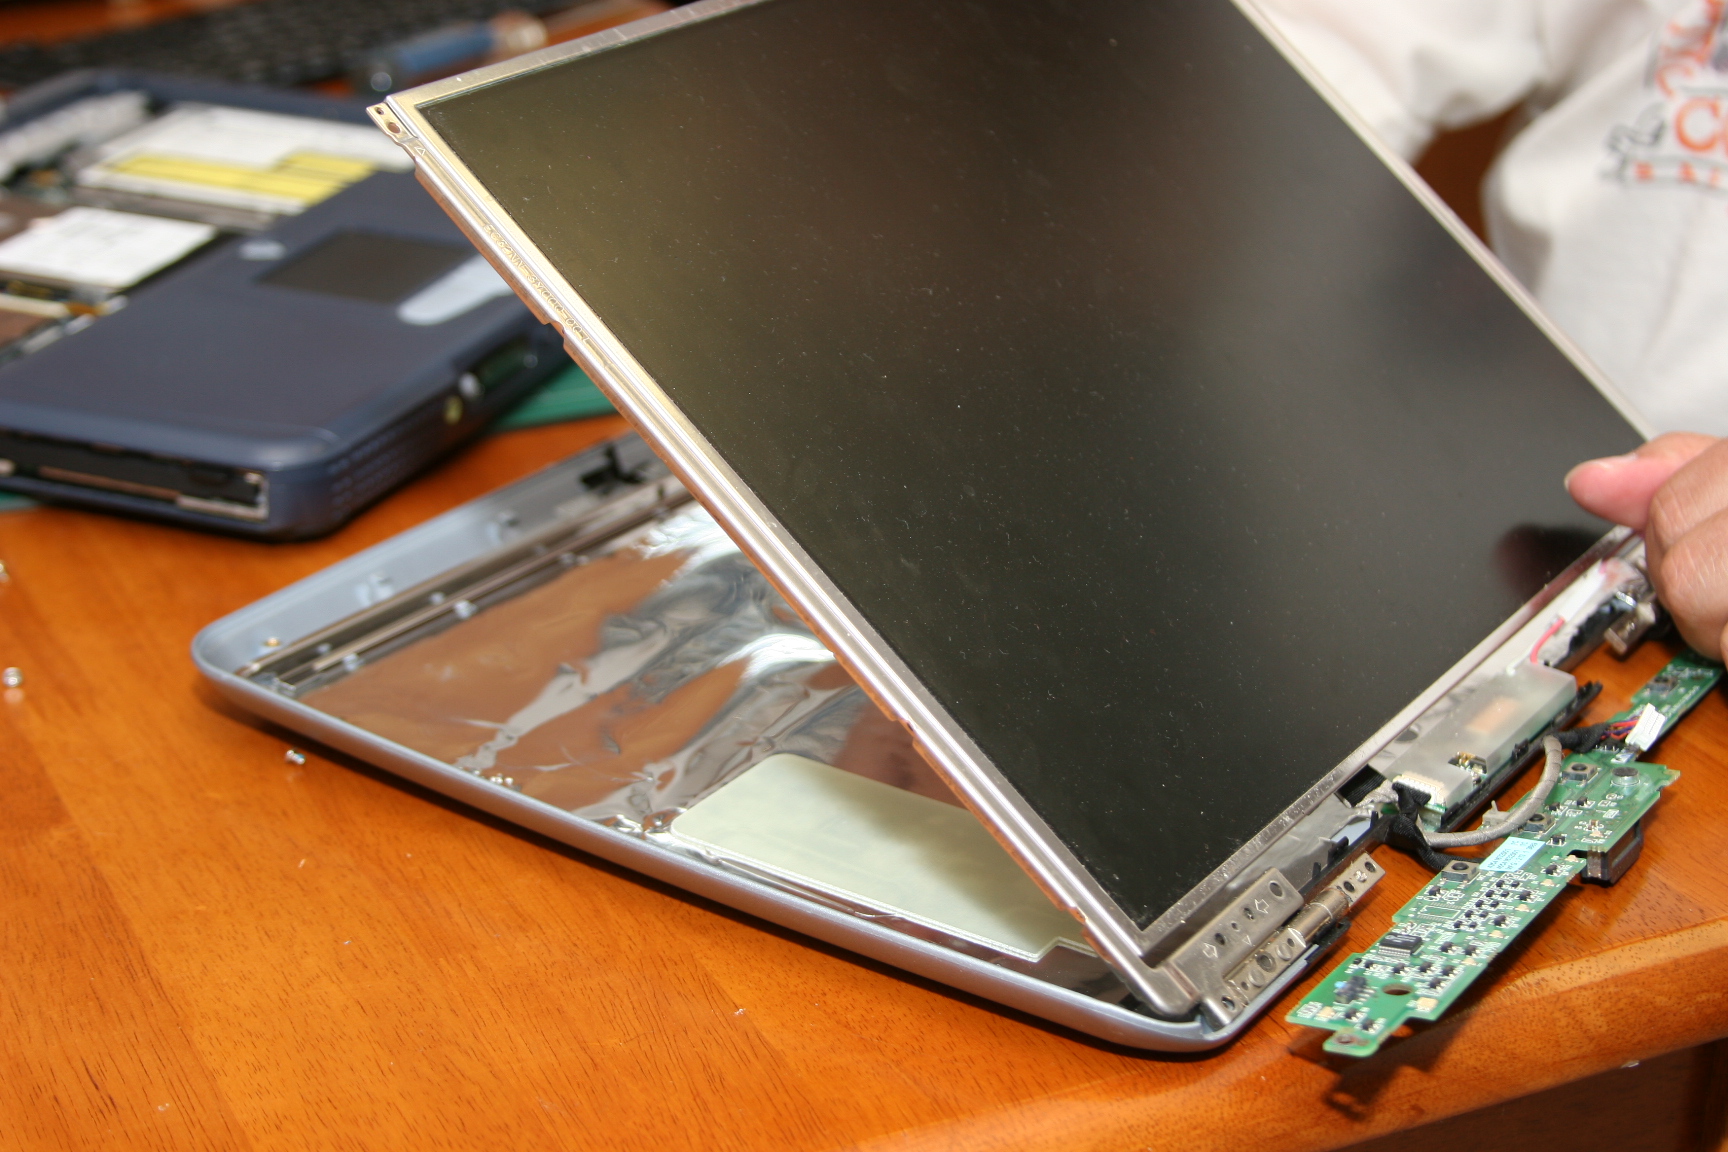
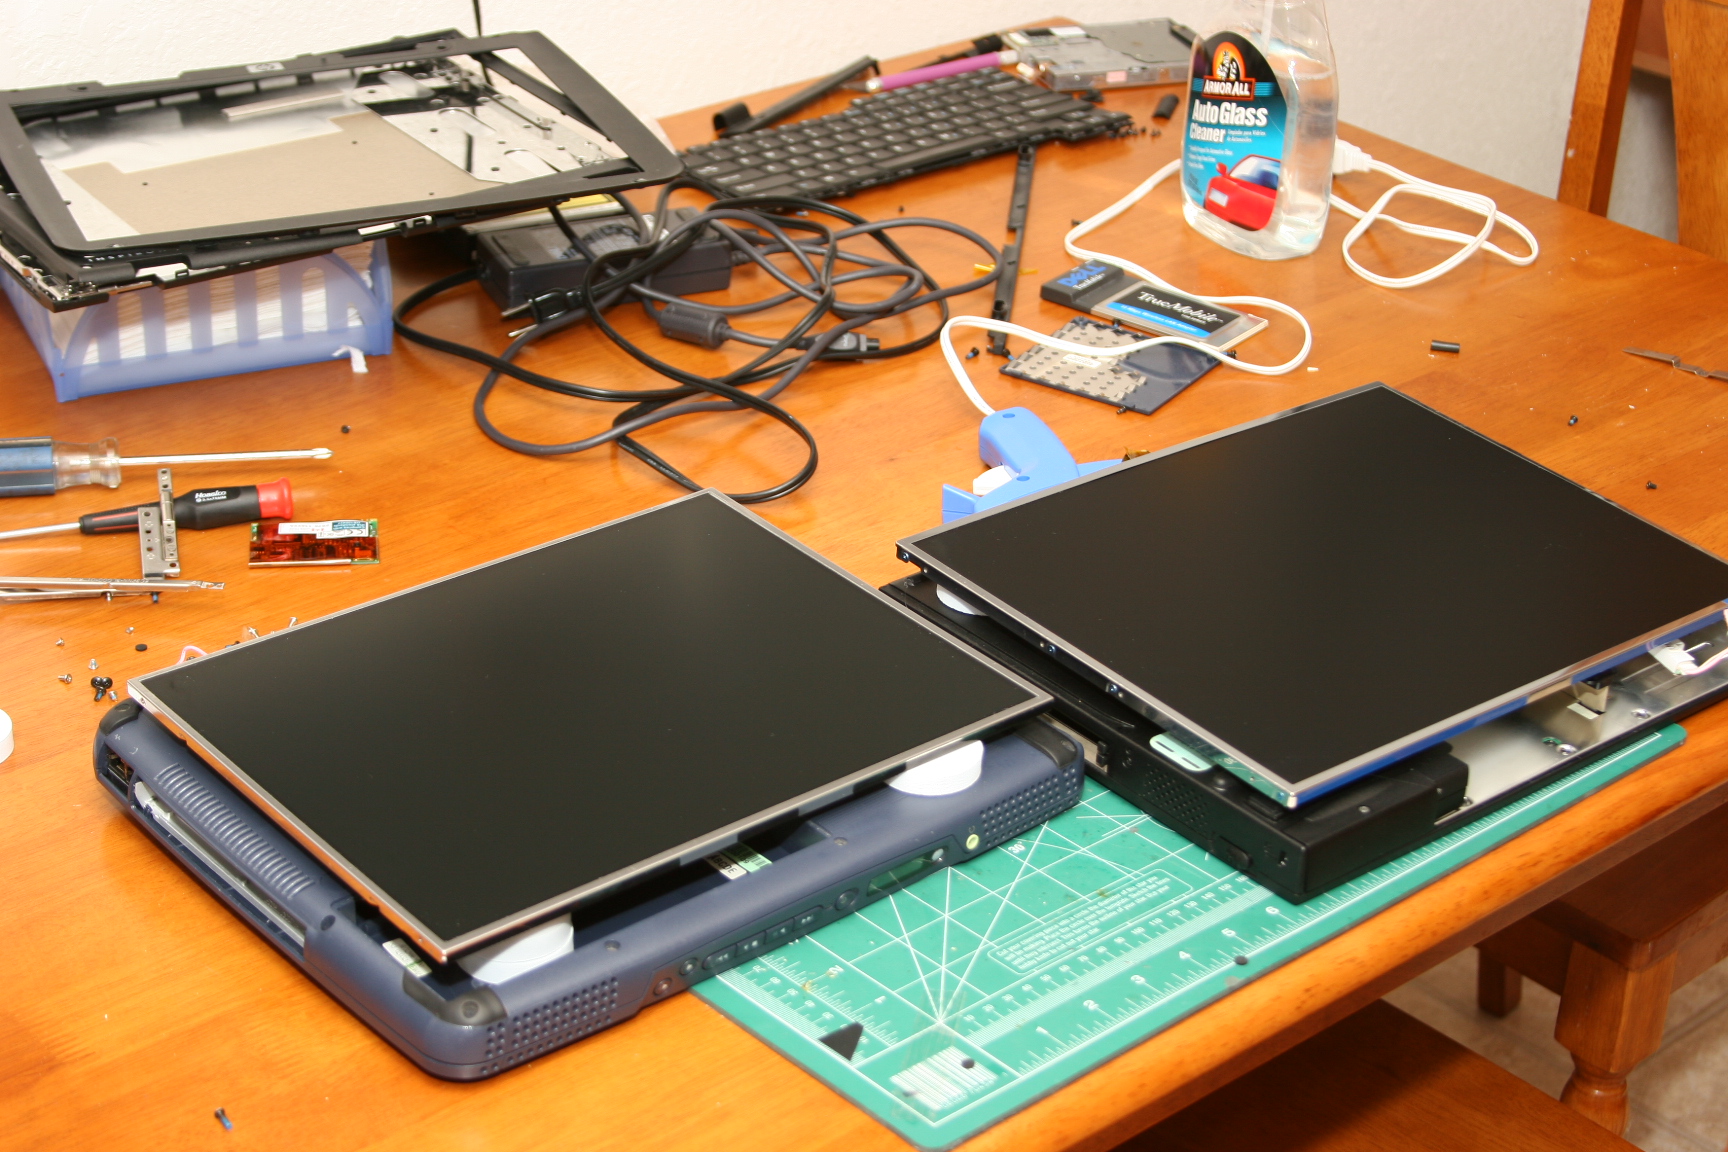
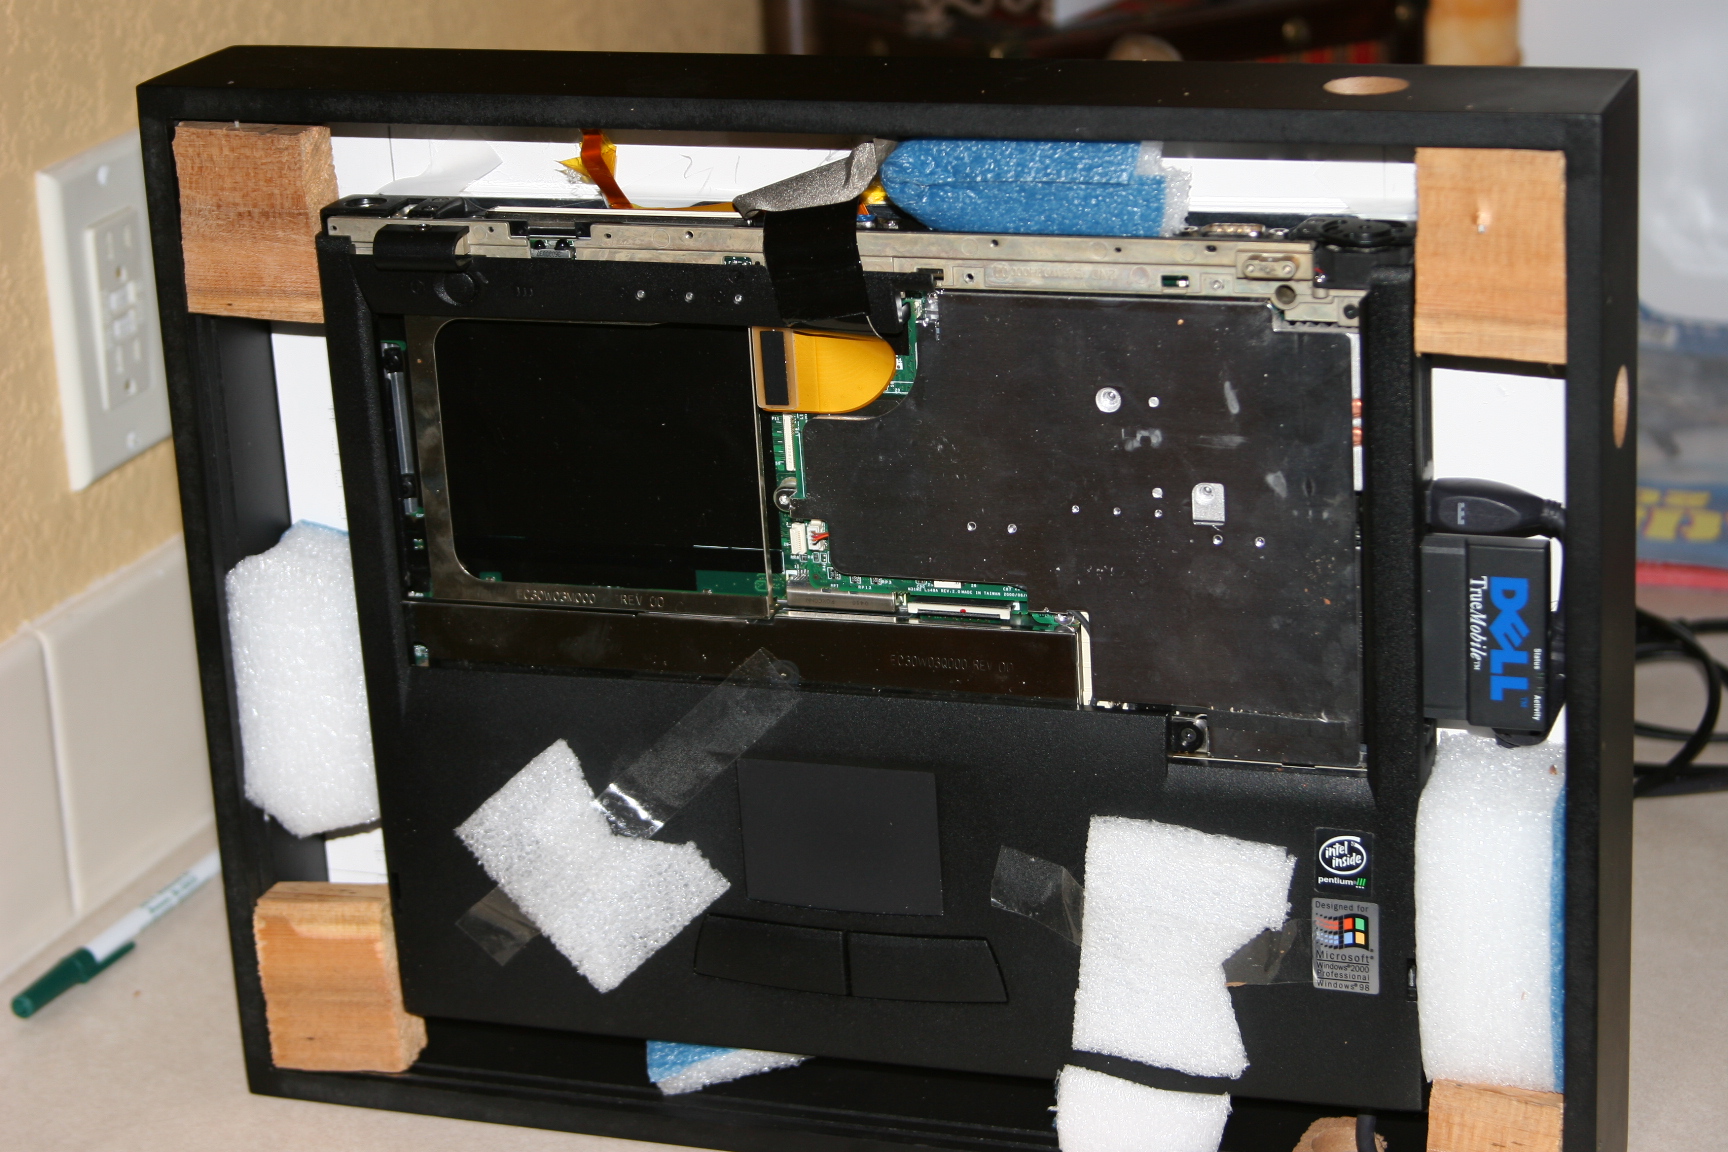
Find and remove all screws that hold the LCD screen to the its backing so that all you are left with is just the LCD screen. |
 |
||||
 |
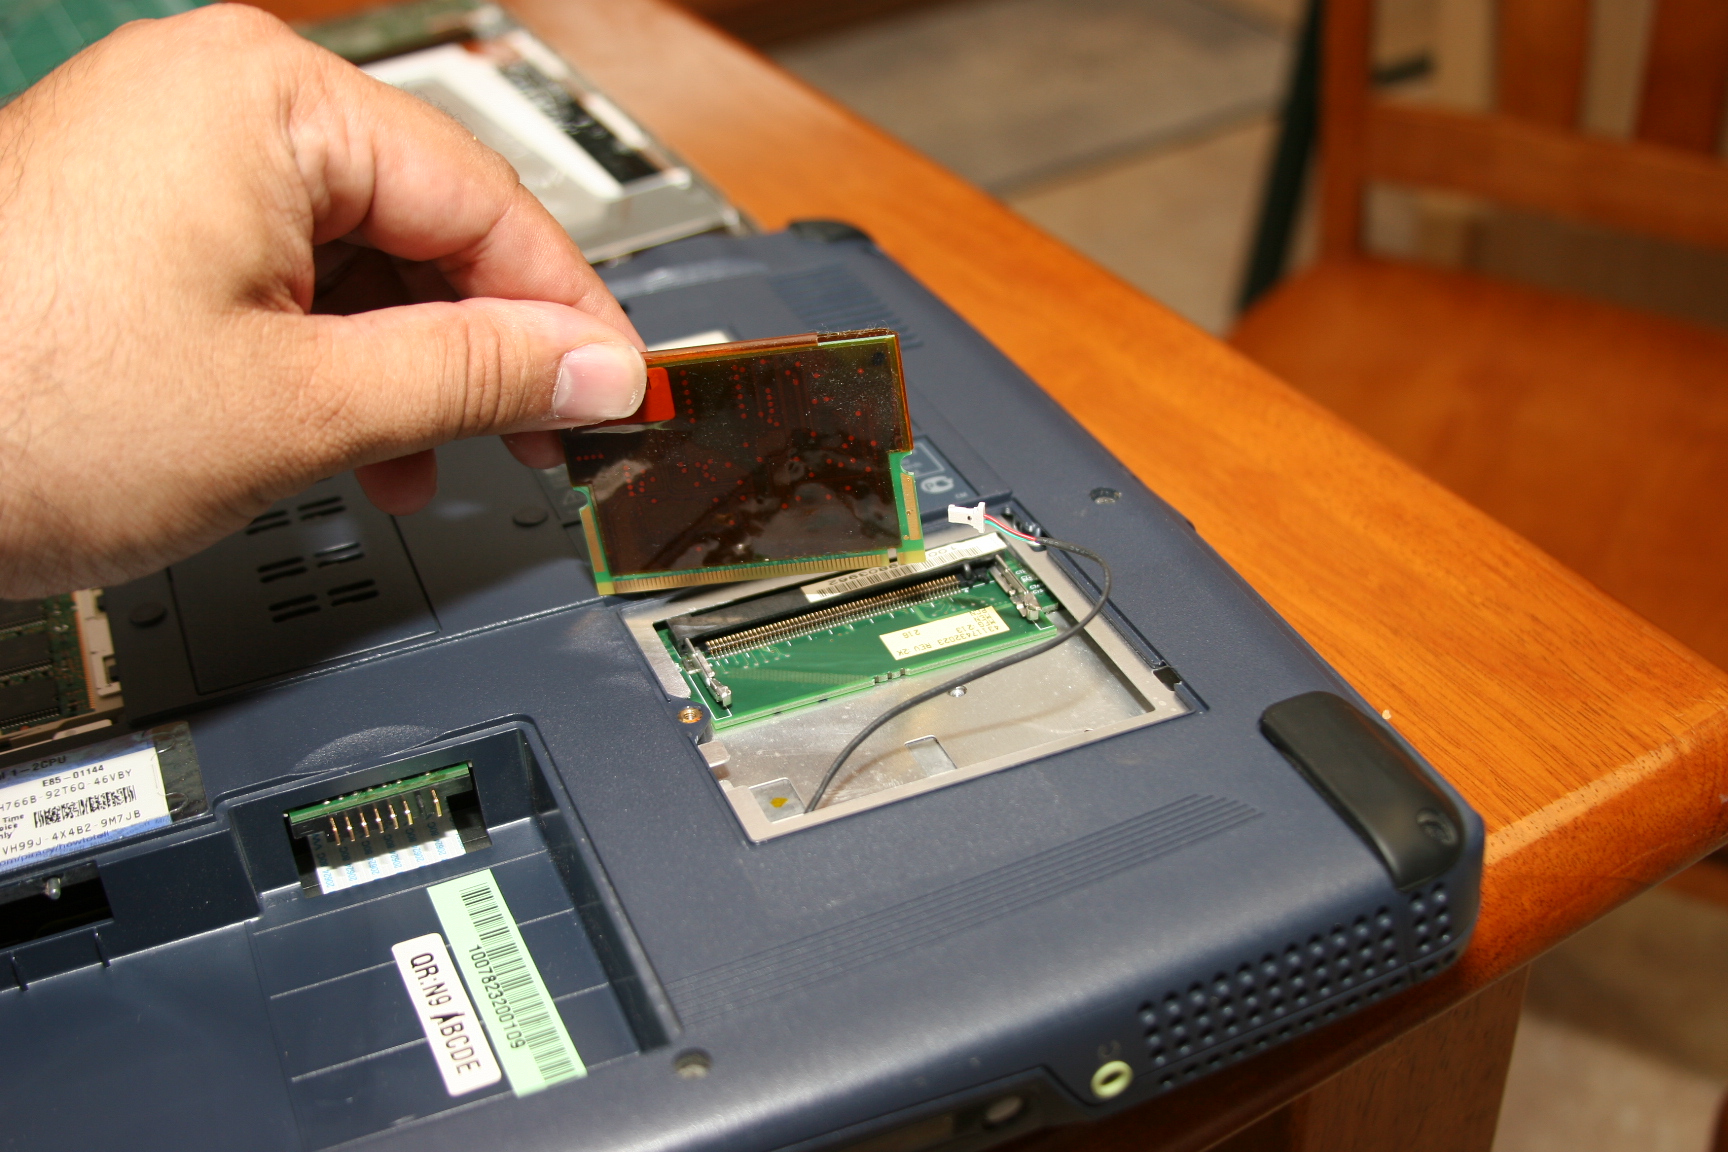
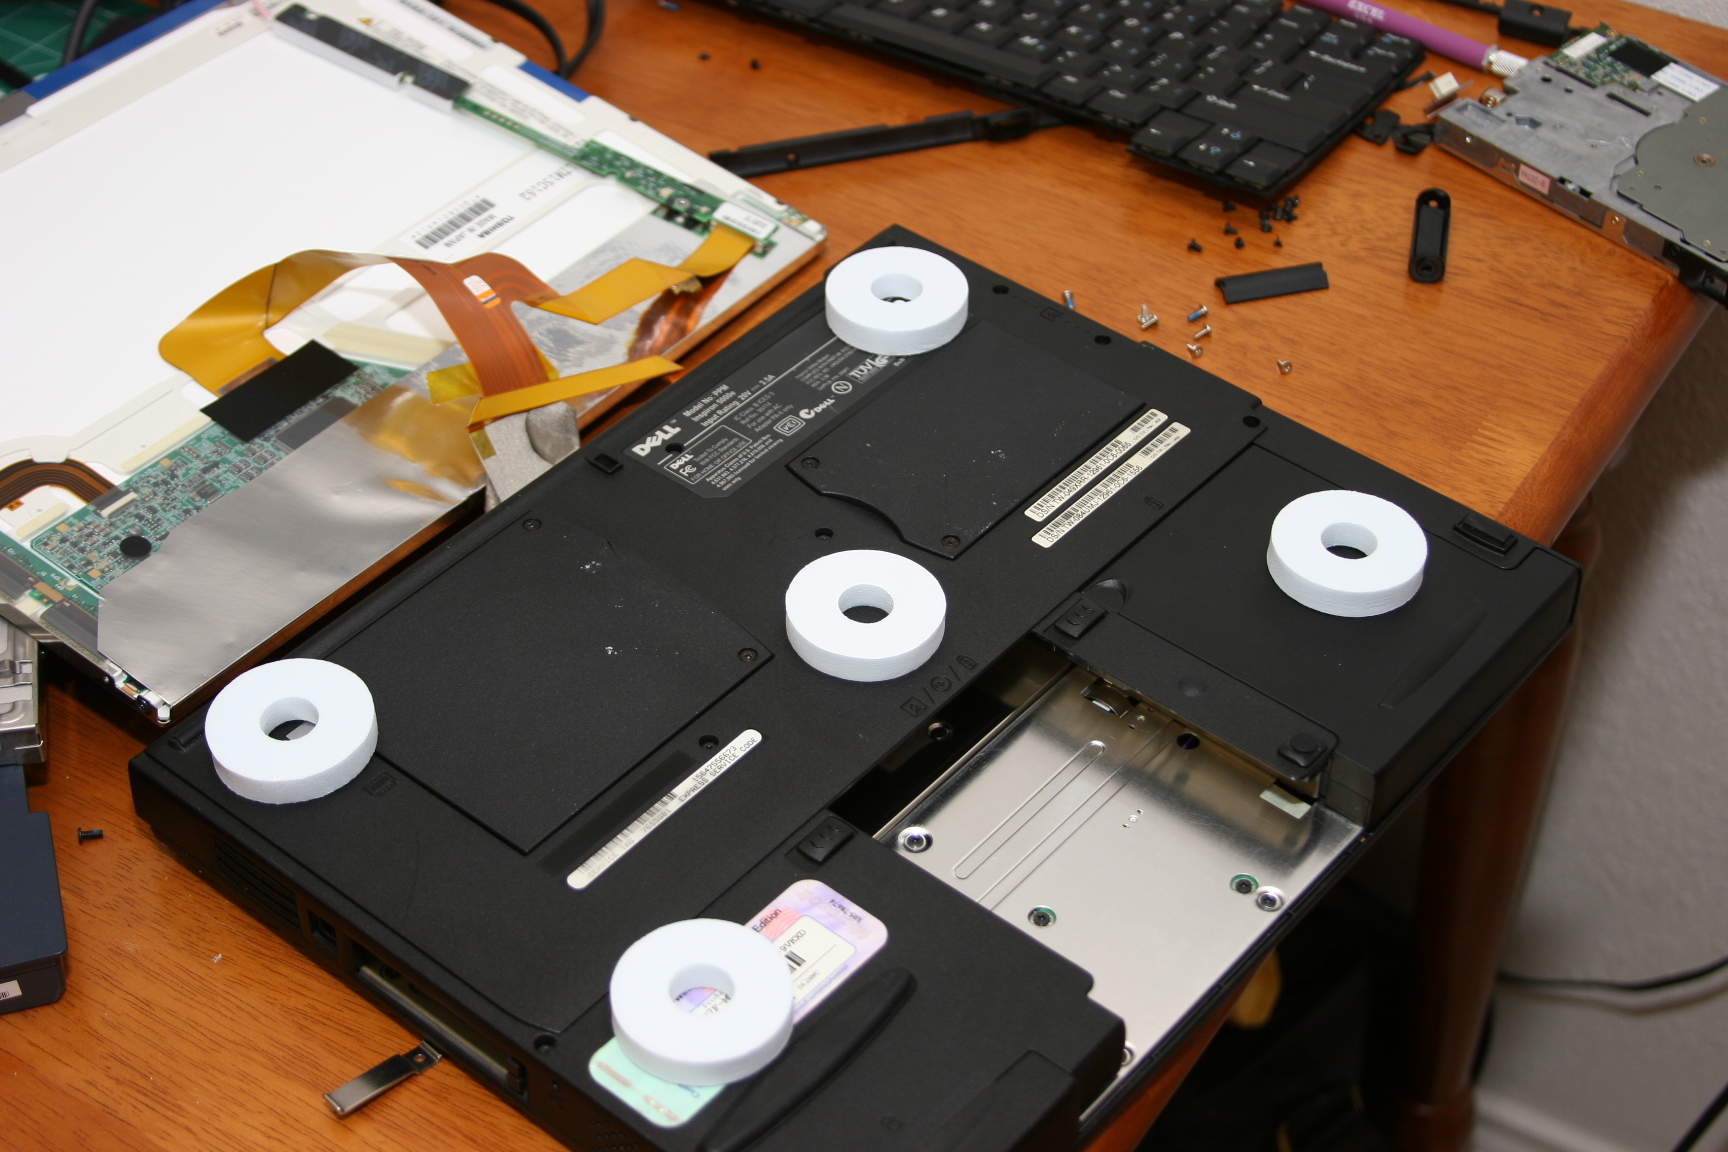
Remove any hardware that is not needed. Here we are removing the CD-Rom. |
||||
I'm pretty sure this is a modem. We didn't strip our laptops down as much as others have. I only removed major hardware that I knew we wouldn't need. |
 |
||||
 |
|
||||
I used hotglue to attach the foam and carefully glued them to the LCD screens. Now would be a good to make sure they still work. |
 |
||||
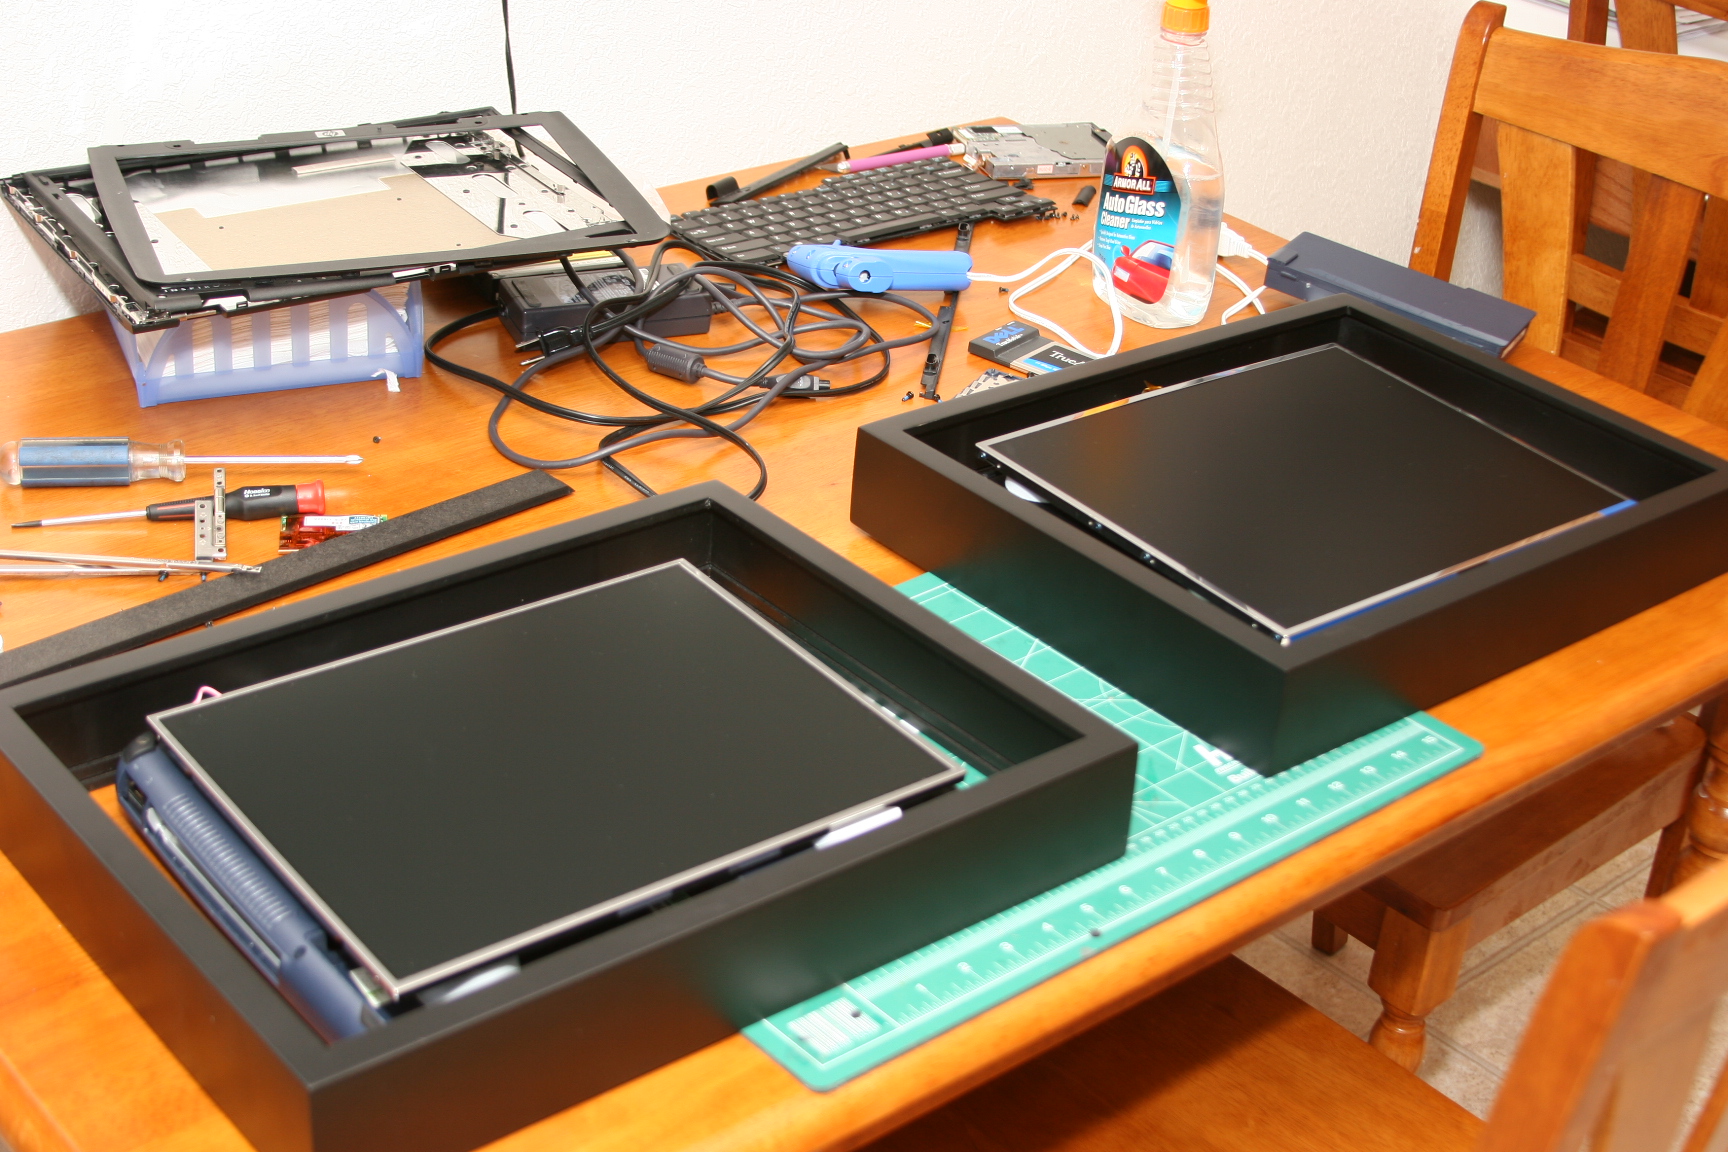 |
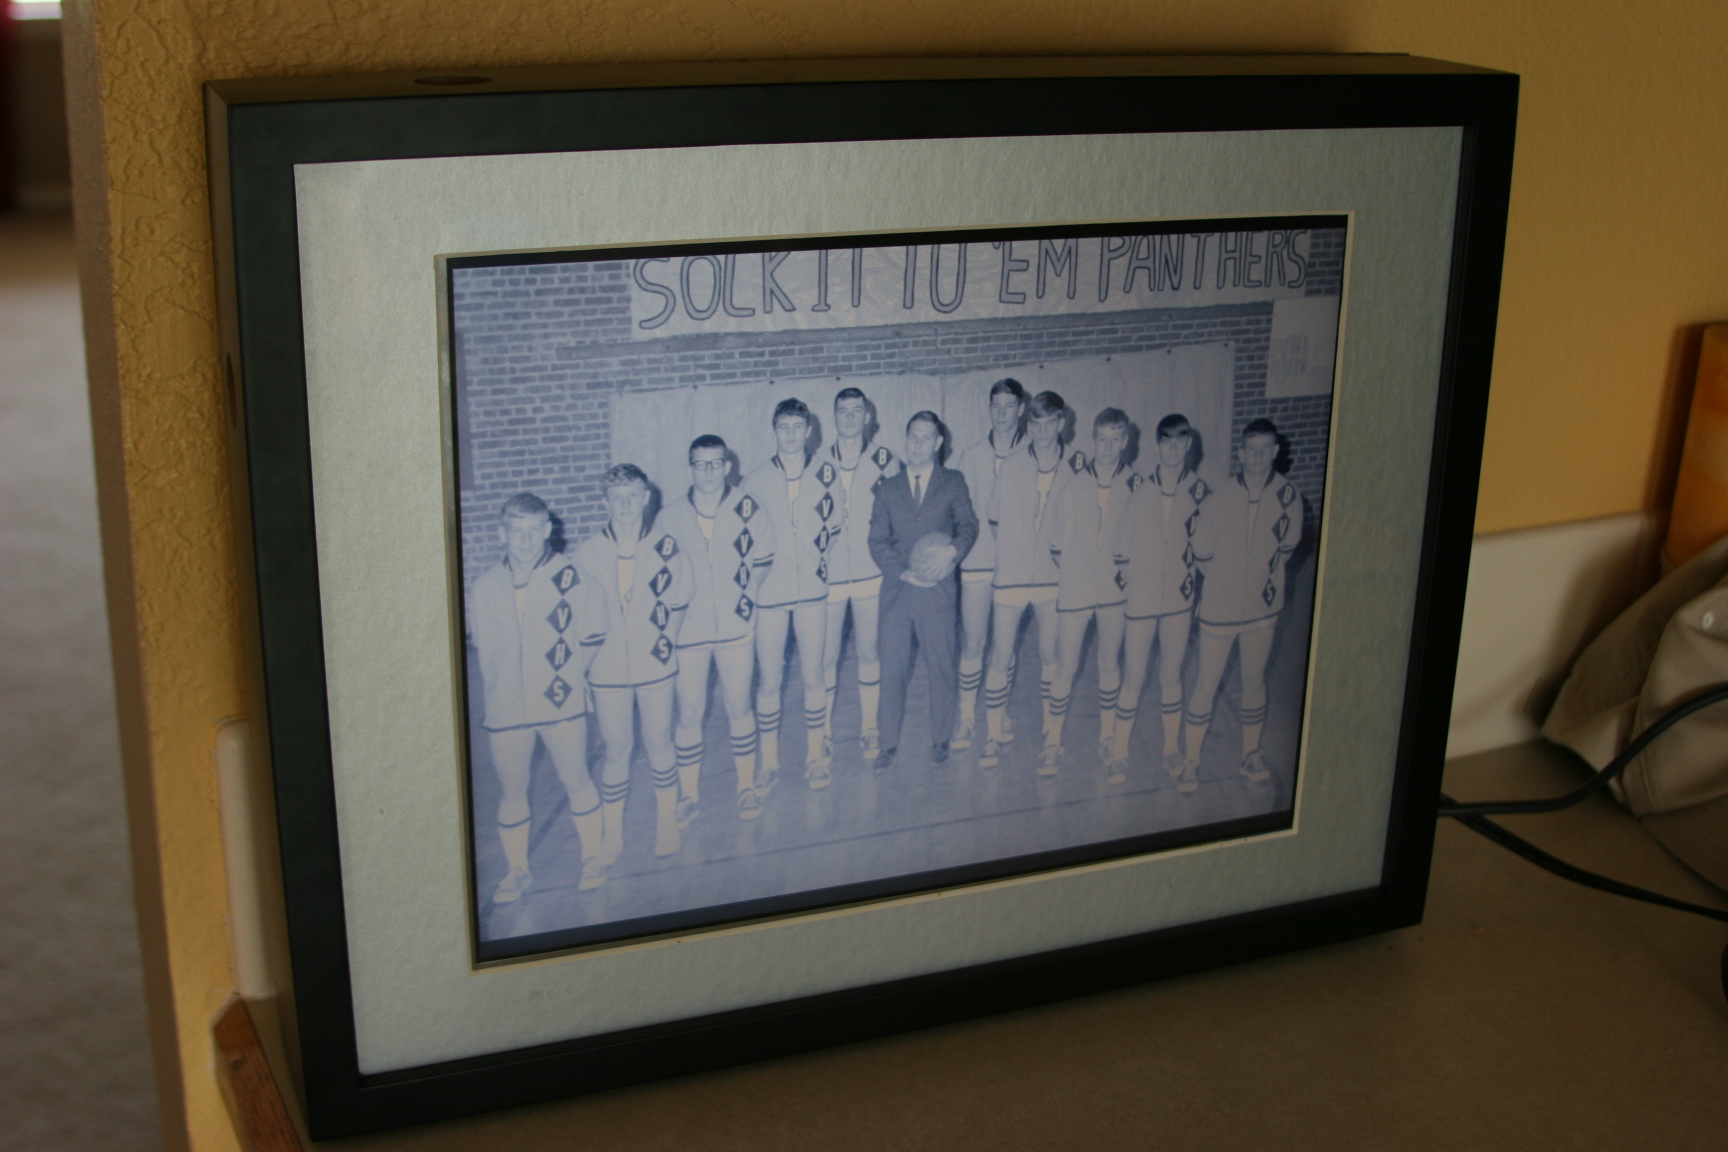
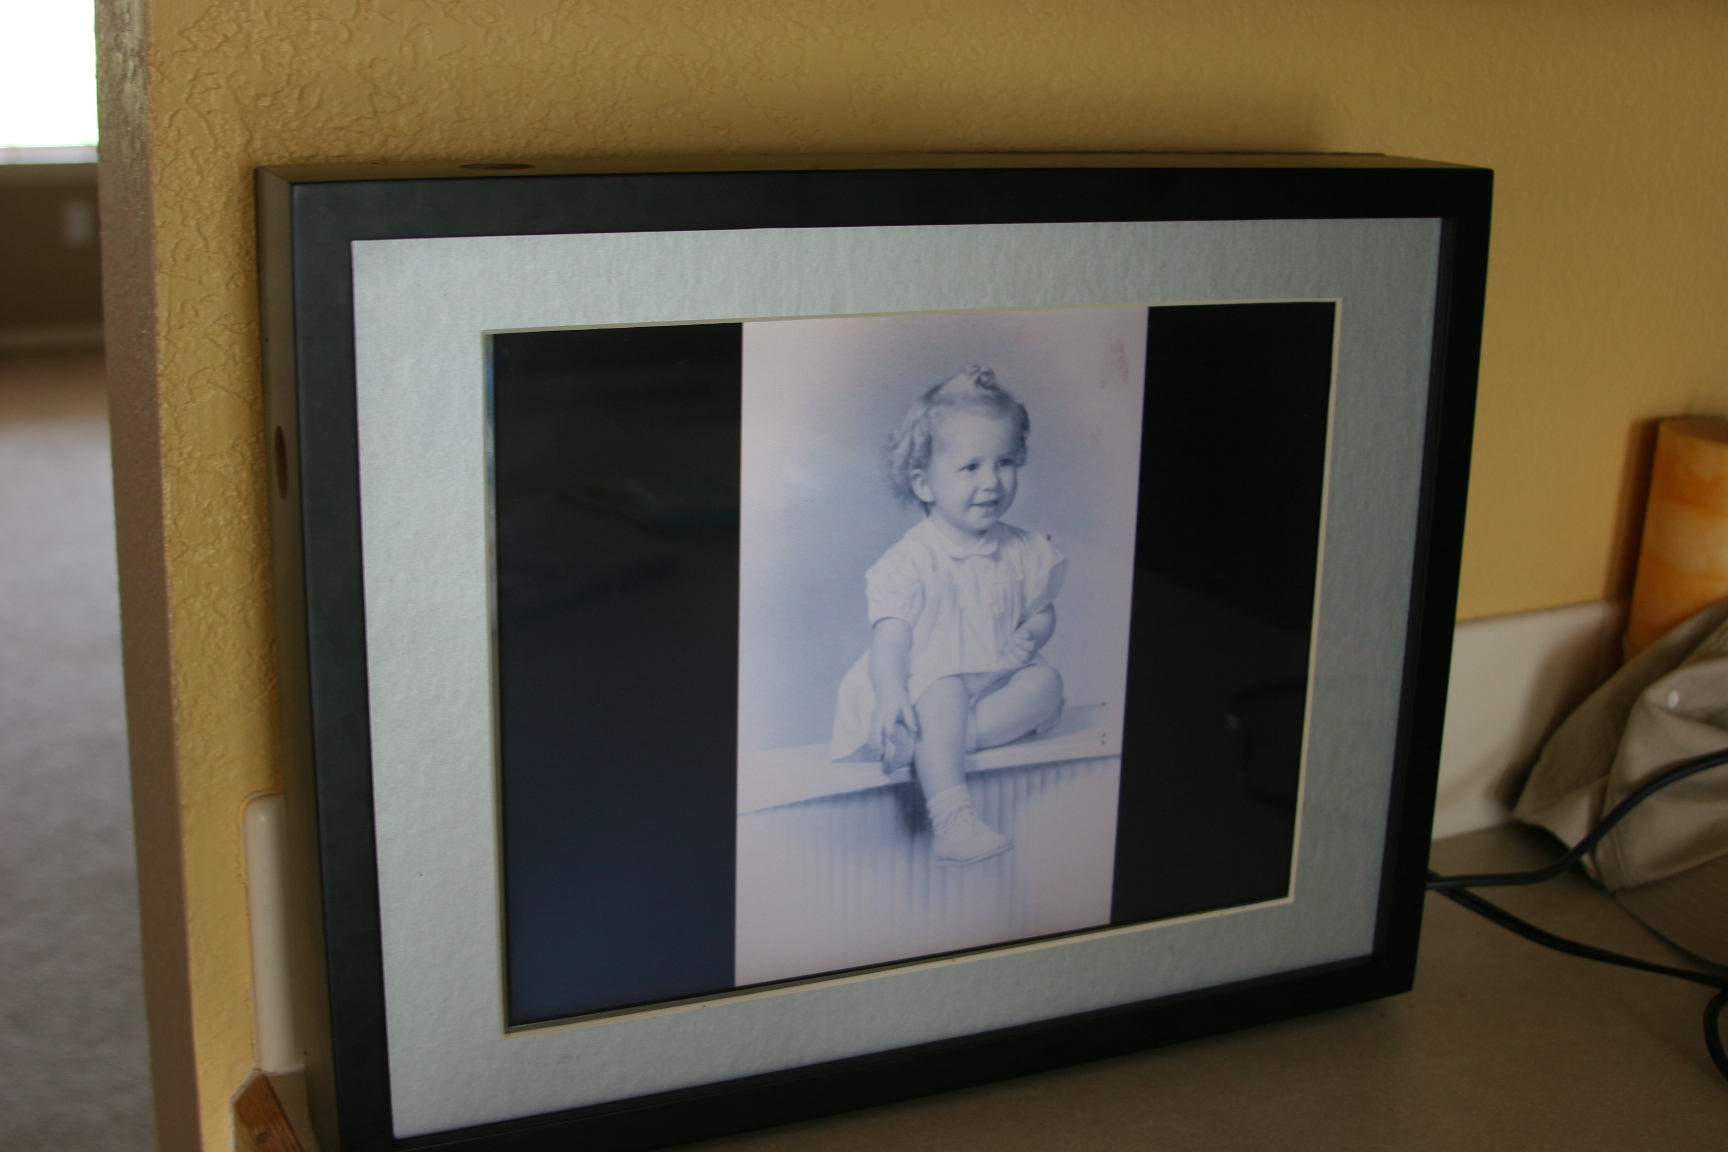
I used shadow boxes I got at Hobby Lobby. They look great and both laptops fit perfectly. |
||||
I used my Altos Mat Cutter to cut a custom mat for the LCD screen. |
 |
||||
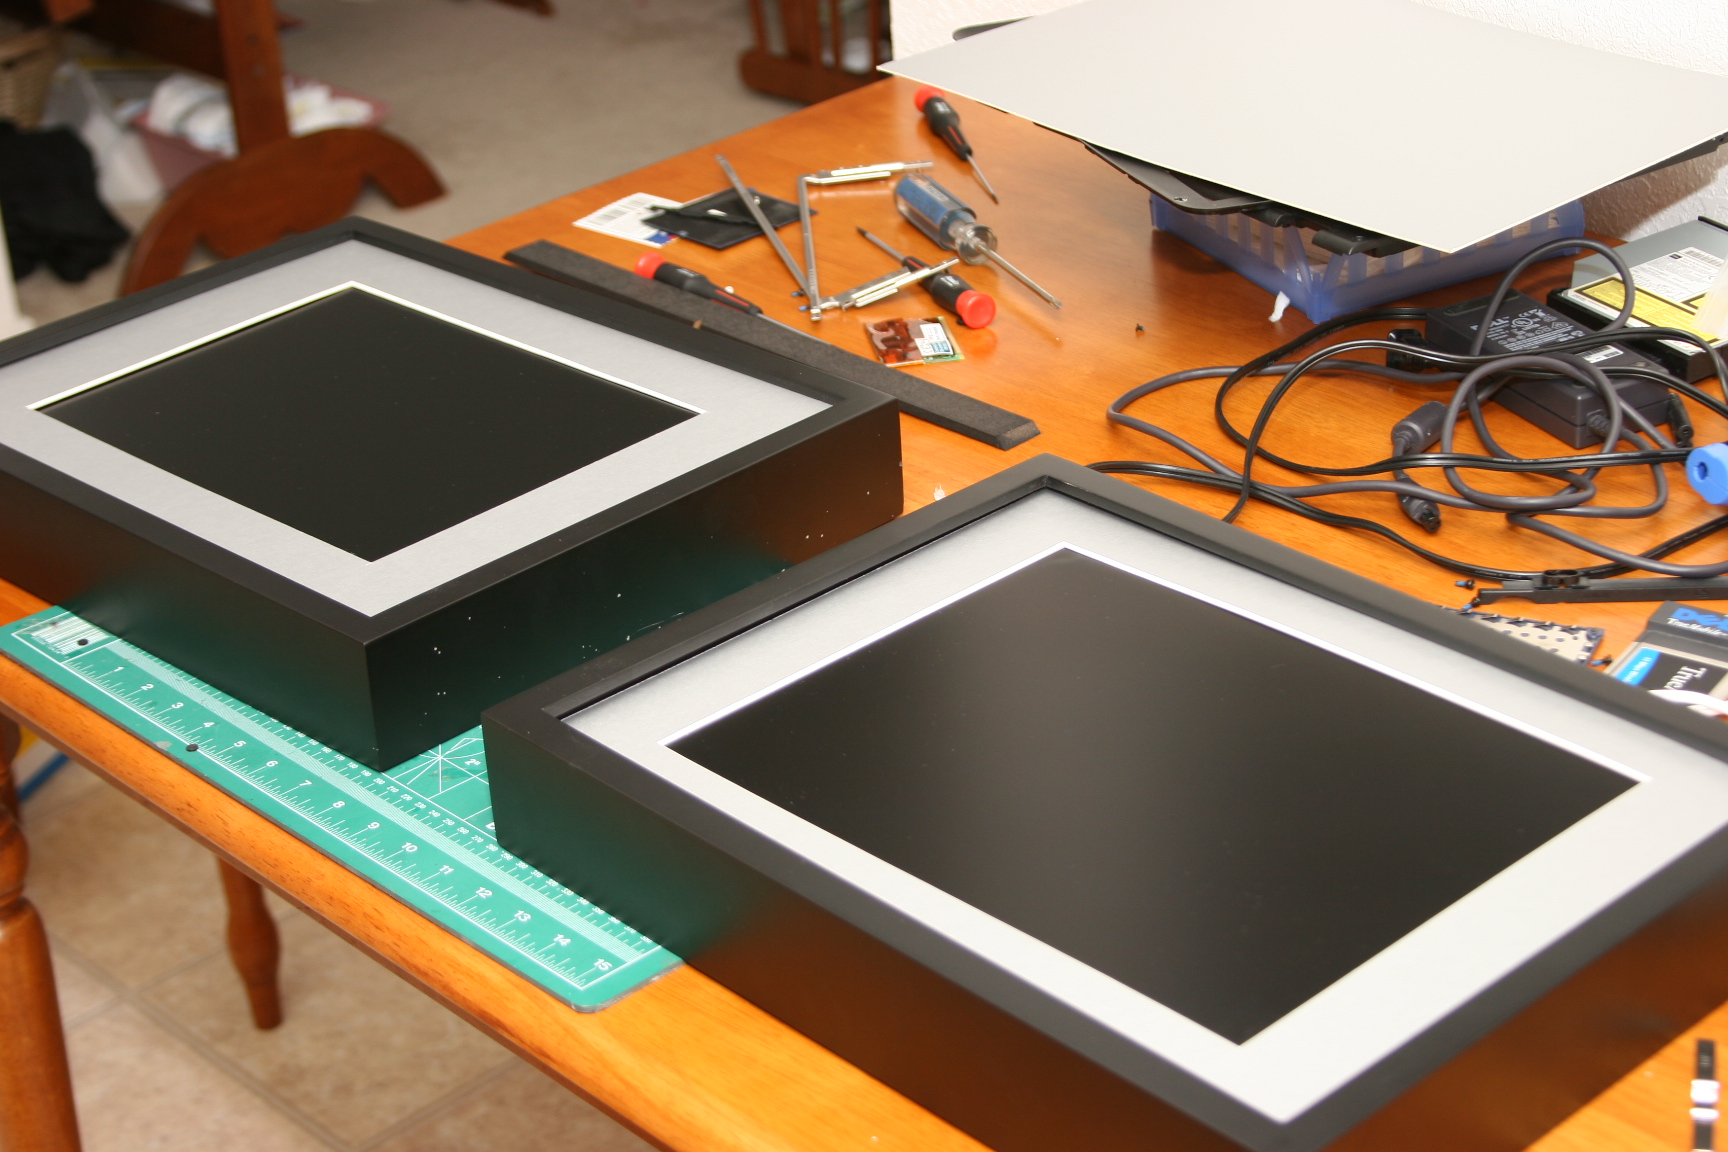 |
The mats look great and give it that 'professional' look. |
||||
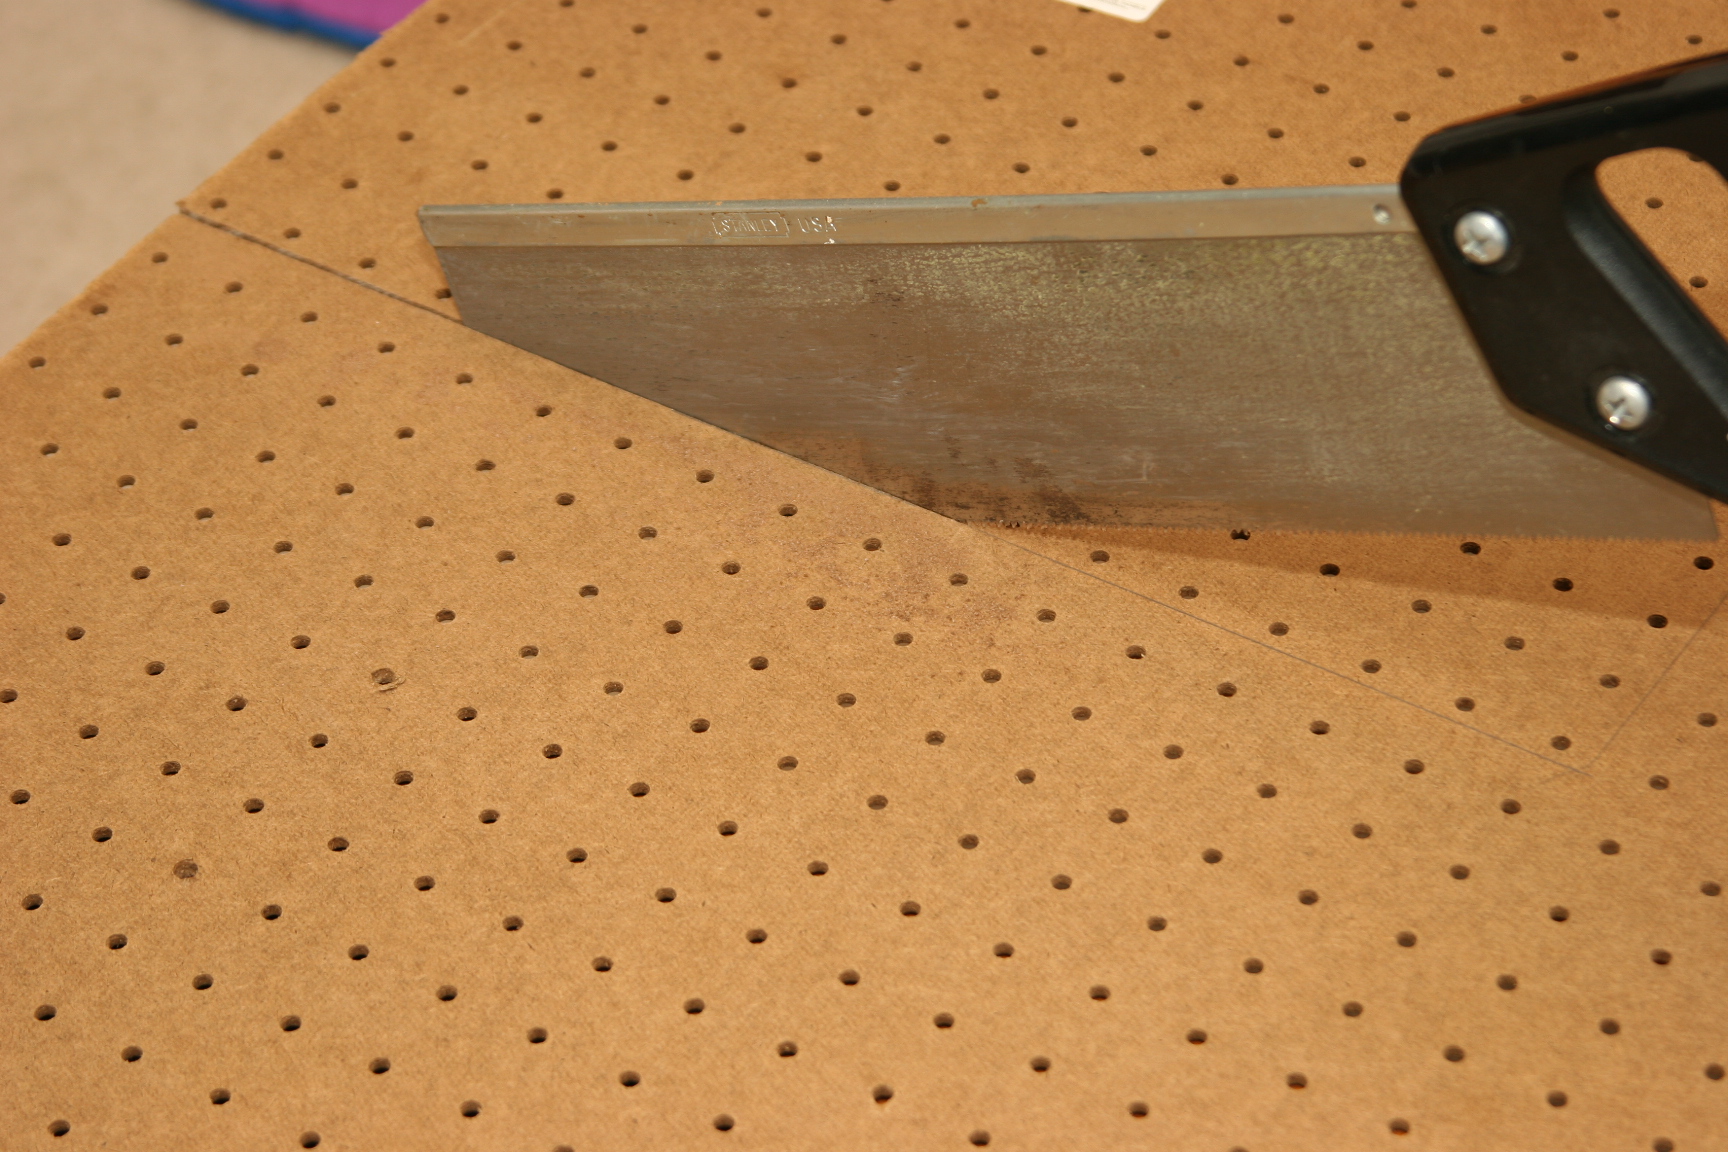
I choose pegboard to use as a backing because I thought it would help with ventilation. |
 |
||||
 |
Using a 7/8 paddle bit, cut a couple of ventilation holes for the fan, and a hole for the power cord. |
||||
|
 |
||||
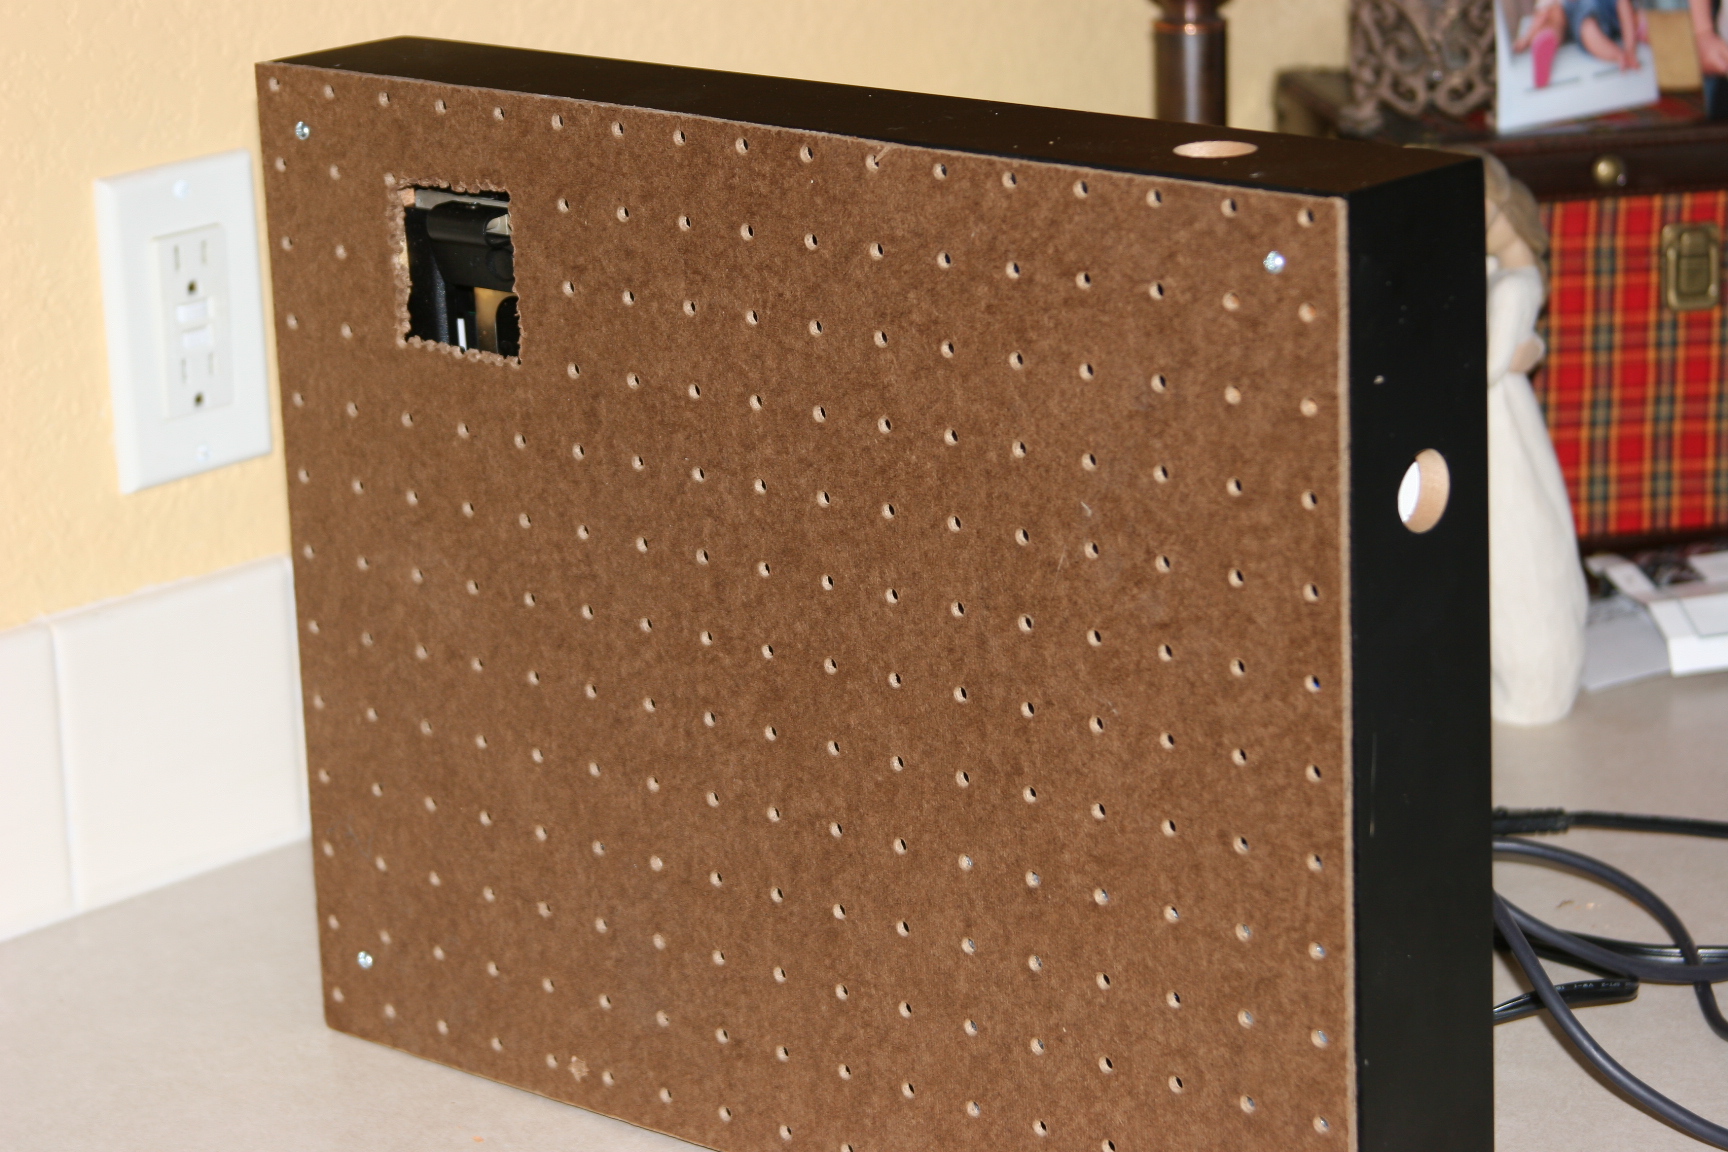 |
The pegboard is held on by four screws installed in the wooden blocks. Since we didn't know how to move the power switch, we had to cut a hole in the back so we could turn the laptop on and off. |
||||
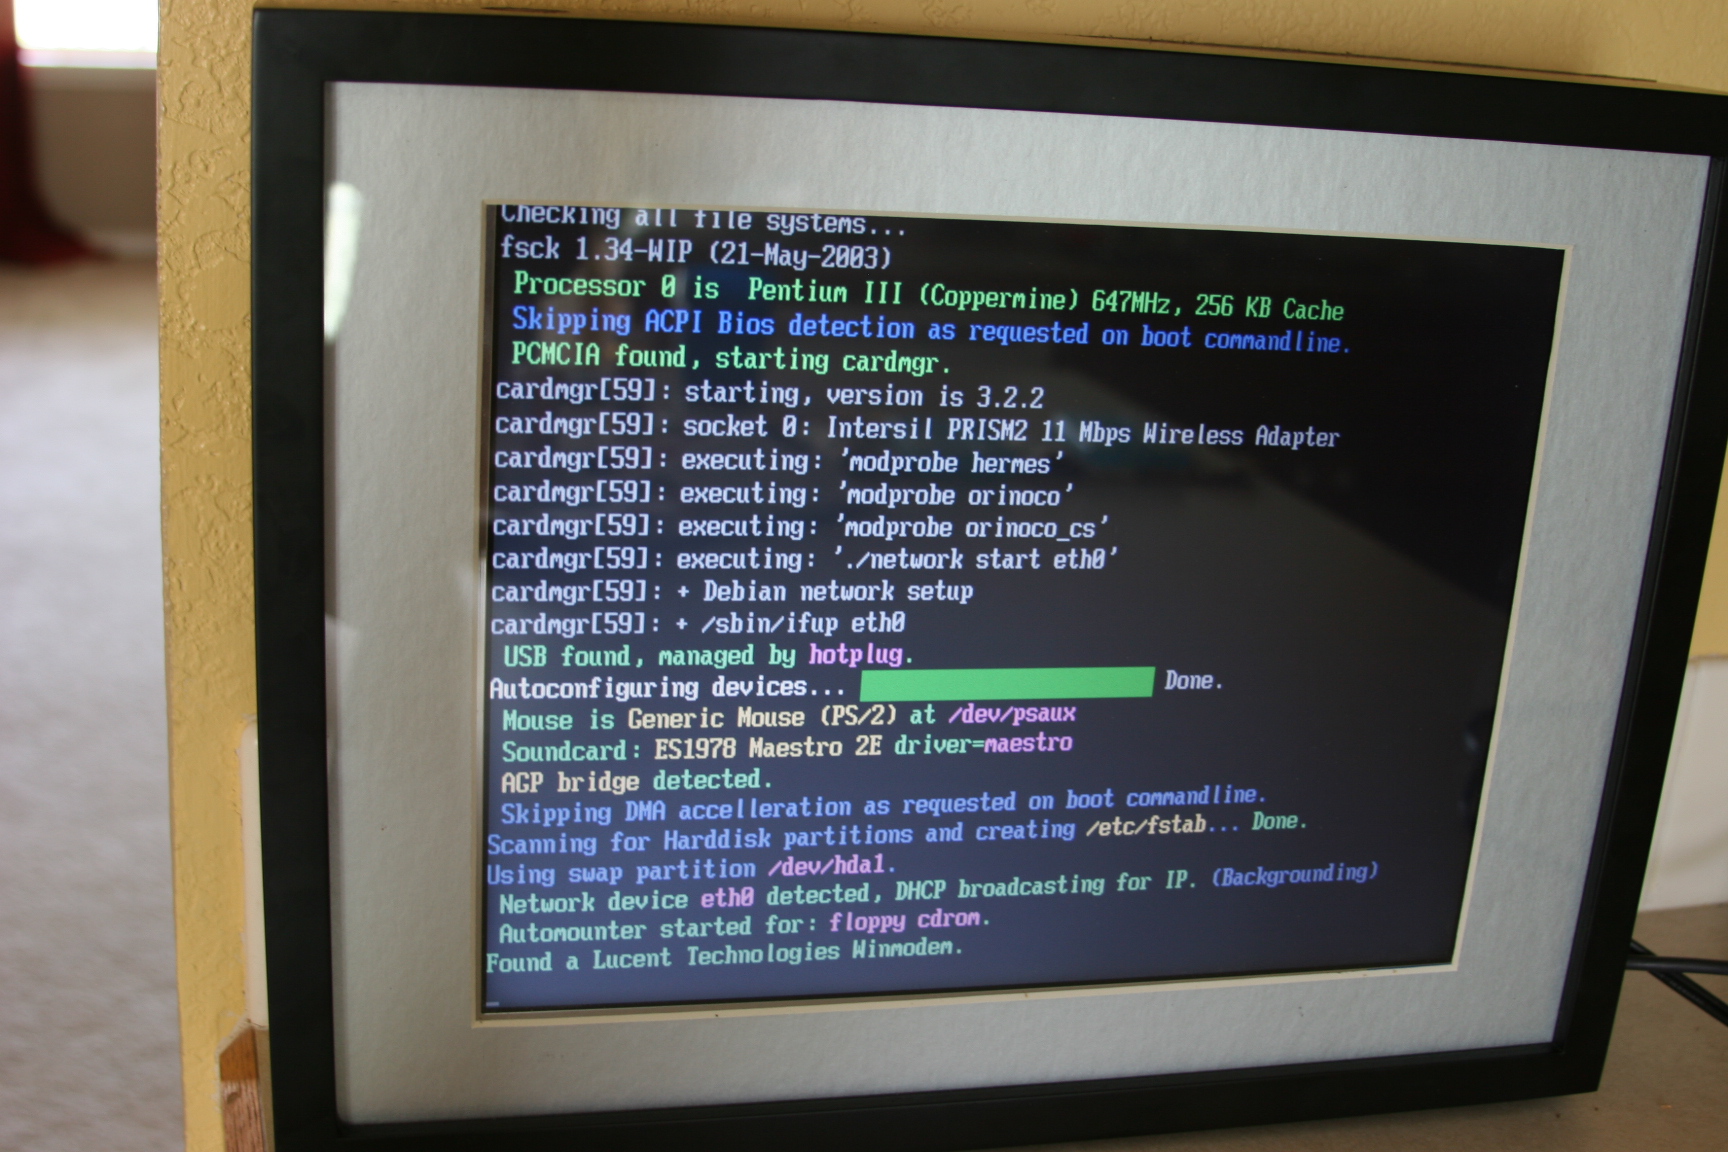
Josh installed a very small version of linux called "Damn Small Linux" 50 Mb compared to a typical windows XP install at around 5 GB or higher it is very lightweight. |
 |
||||
 |
Finished, Josh set up the frame to sync with a folder on his website that family and friends can upload. That way the frame will always have new (or old) photos. |
||||
|
 |
||||
 |
Because pegboard was used for the backing, I was able to use a hanging tool that fits securely in the back enabling the frame to be set at an angle. |
||||
I used a piece of scrap wood to make the viewing angle perfect. I just need to get some rubber ends so that the metal ends don't scratch anything. |
 |
||||